What? Did you think I missed a Pinterest attempt? As a matter of fact, I did do a project for the month of March. I'm just a little late in posting. So no April Fool's Day prank here.
My last post was all about my stitch group's spring retreat. For the past few retreats, I've created a little gift for each person in the group to commemorate the occasion. This time, Pinterest yielded a cute little idea for a
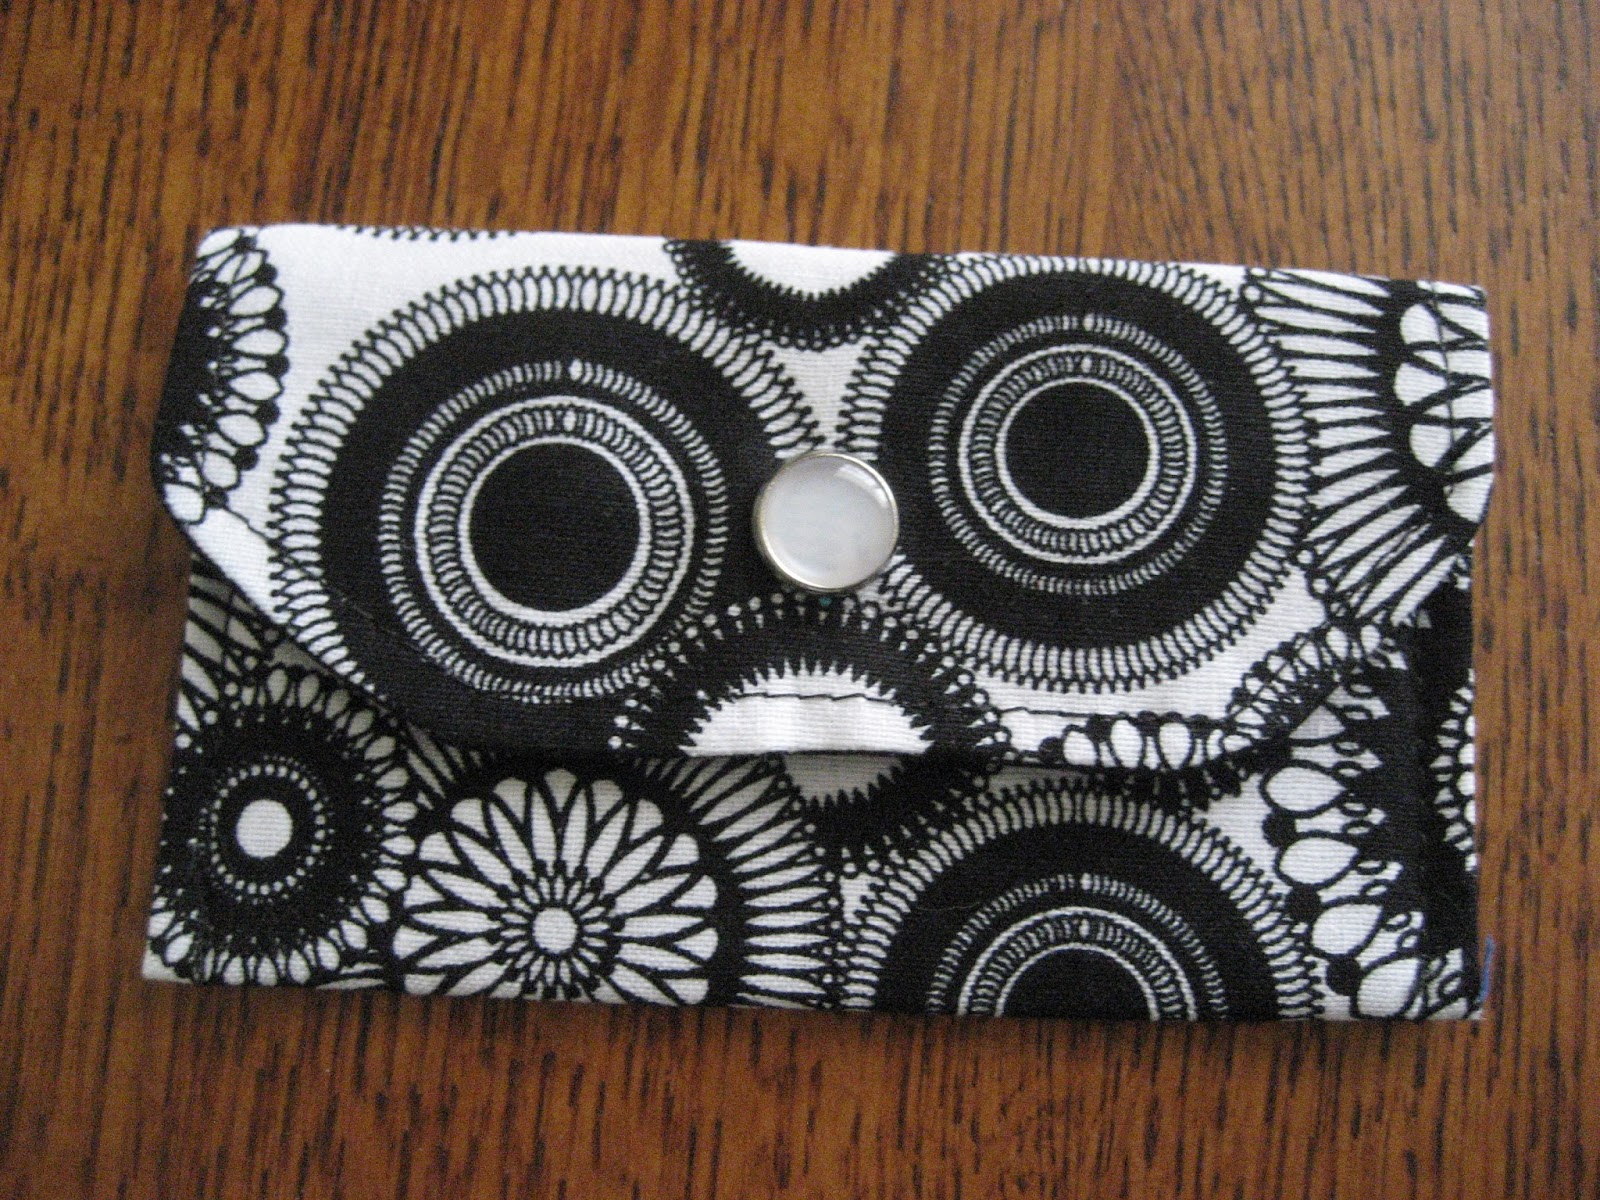
"Snappy Card Wallet" that was so appropriate for our group. You see, each month when we meet for our regular stitch day, we do a gift exchange. Our gifts range from the practical to the whimsical. We draw numbers for the order in which to choose, and then we're allowed to "steal" from each other after a gift is opened. It isn't as mean as it may sound, and we all ultimately love the gift we get.
One of the most popular gifts brought to stitch day is the gift card. It could be from Starbucks, Joann's, Hobby Lobby, Barnes & Noble, Cracker Barrel, among others. My idea was to make one of these little card wallets for each of our group members so that they could keep their gift cards in them. See? How useful!
I just followed the instructions on the video to make a bunch of these. In the excitement of getting ready for the retreat I forgot to take a photo of all of them, but have these three with me to show you. I'll tell you why in a minute.
 |
| Yes. I know. This one looks like it has eyes. |
These are a great way to use up fabric scraps that you may have, which is exactly what I did. I only had to buy some of the Dritz Snap Fasteners for this project. The rest I had on hand.
NEW SKILL ALERT! As I had never tried to attach these snap fasteners before, I found a useful YouTube video
here to learn how. The process was easy, but don't do this on good furniture because it will leave a mark. I used an old wooden cutting board to hammer these snaps on. In my misguided attempt to protect the cutting board (?????), I put a piece of felt under the fabric and proceeded to hammer away. The result was that some of the snaps didn't join strongly enough and pulled right out when opened. Big mistake. But it was easily fixed when I just hammered those snaps into the fabric directly on the cutting board. So two of the wallets you see above were in for repairs. NOTE: I will say that when you're applying the pearl part of the snap, you may WANT to put some felt under that so that it won't be damaged. Just make sure that you hammer that part in good. This wasn't the part of the snap that I had problems with. The little snap fastener kit came with a piece of felt for that purpose. The kit also comes with a little setting tool that holds the snap in place and makes it easy to hammer in.
This was a fun and fast little project to make. As soon as the fabric was cut out, the sewing part was easy. And the snap application was a snap (ha ha), when I followed the instructions. These little snappy wallets are suggested for business cards, but I don't have a business card for work. I suppose I could get one that says "Awesome Crafter" or "Accomplished Stitcher". Or how about "Worthy Blogger"? No? I guess I'll use mine to keep my gift cards safe.


I love your little wallets! Those will be popular gifts, I predict. I've attached those snaps before and they are a little tricky to be sure!
ReplyDeleteGreat little card wallets Cathy! I am sure the ladies at your group all loved them! Have a lovely weekend! Christine x
ReplyDeleteThose are great little wallets. What a nice way to use up some fabric scraps.
ReplyDeleteWhat a super cute idea and very practical as well!
ReplyDeleteWhat a cute and awesome idea! I should make one for myself!
ReplyDeleteI love my little card wallet!
ReplyDelete