
In search of some kind of winter-ish door decoration, off I went to Pinterest. I quickly found exactly what I was looking for.
The first inspiration source was from diy inspired.com. Below is the photo from her blog.


I knew that I had almost all of the materials for this project right there in my craft room. Yes, I'm the one who moved a large box of pine cones from my old house to my present one, so no shortage of those! Then I remembered a pine cone project that I did about a year ago. These silvery pine cones would be just the right thing for my door hanging.
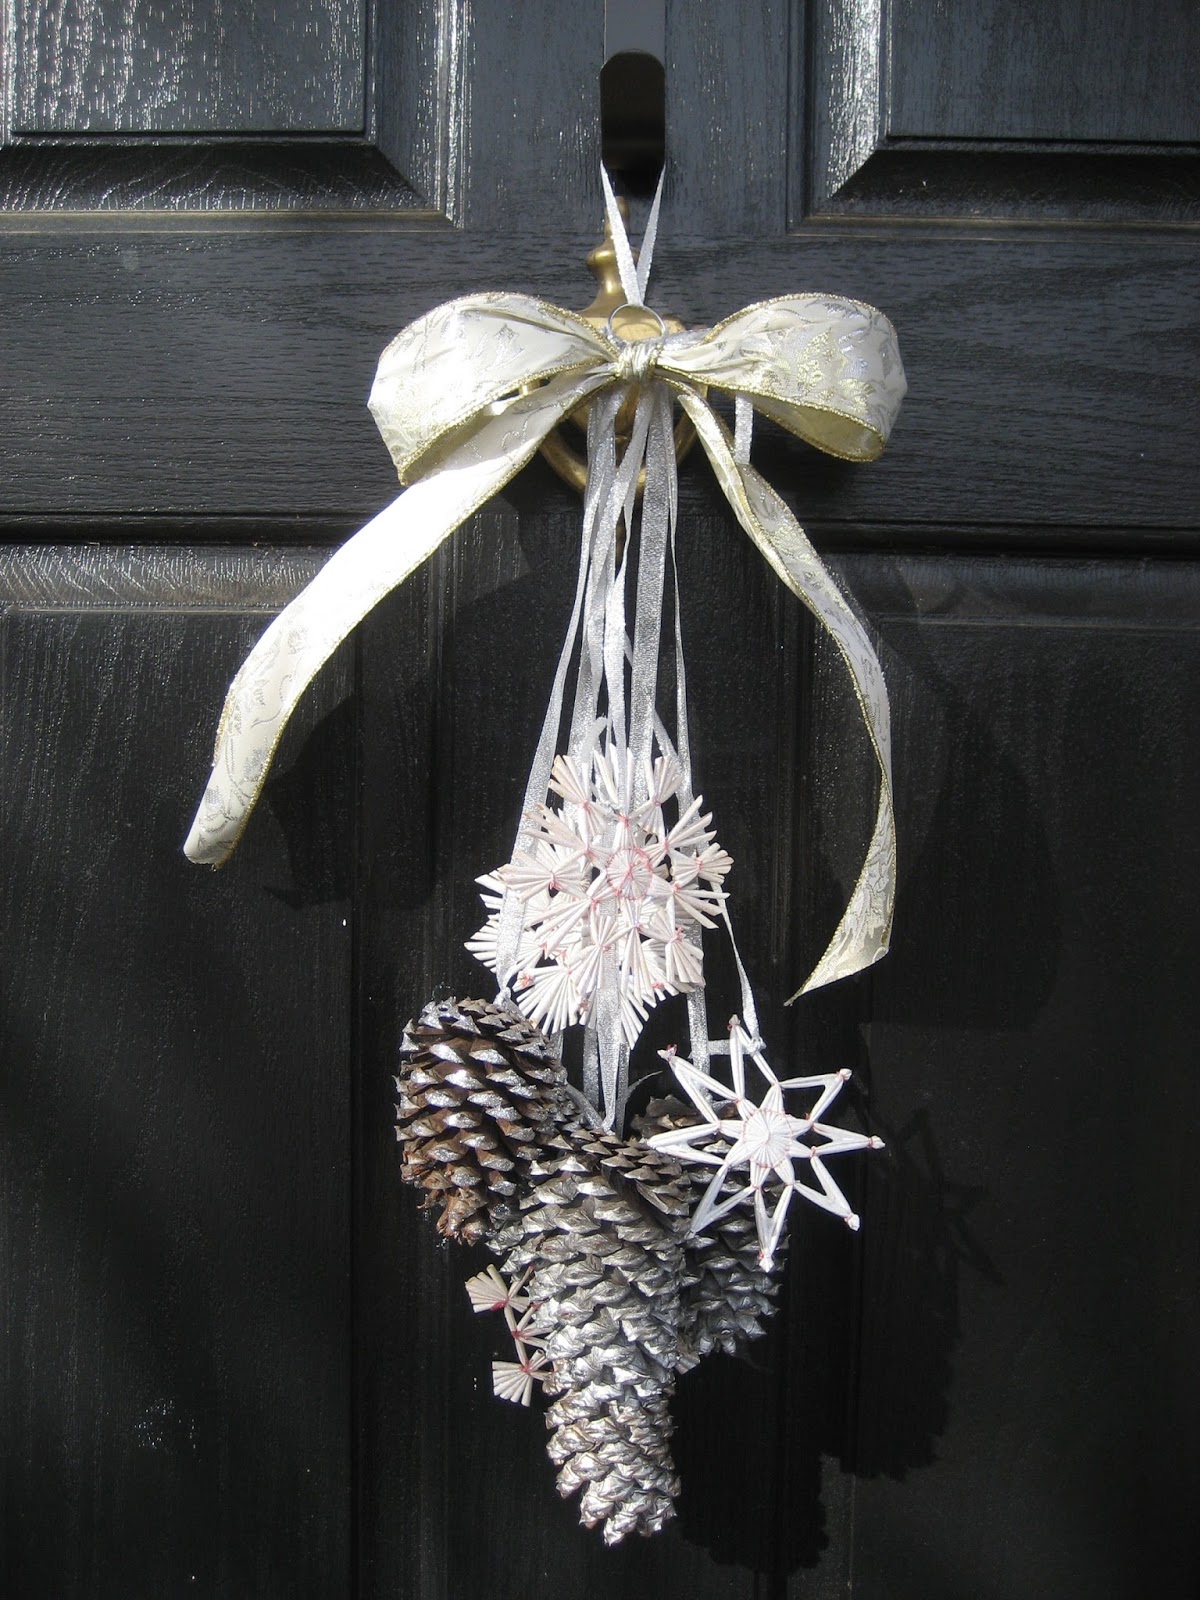
And this is what I came up with.
 | |
| What the top of the pine cones look like. I used 11/16" eye hooks. |
I had some straw snowflake look ornaments that I bought a long time ago, knowing that some day I would have a good use for them. I painted them with white acrylic paint and then gave them a coat of Mod Podge Extreme Glitter. After tying some narrower ribbon on these, I tied all of the pine cones and snowflakes to a one inch split ring (or a key ring). A bow made a good finishing touch.
Some final thoughts about this project: Pine cones can be sharp, so be careful when handling them. Wear gloves if you have to. If you have pine cones that you've just picked up, you may want to bake them to get rid of any critters hiding in them. Instructions on how to do that can be found HERE. I would also suggest cutting the ribbon pieces first. This way you can see the different lengths before you attach them to the pine cones. Allow some extra ribbon for tying to the pine cone and to the ring or whatever you're attaching them to. Also, you can omit the extra decorations, like my snowflakes, and only use pine cones. Or just add whatever you think would look with them - jewels, beads, whatever.
So there you go! An easy, inexpensive way to brighten up your front door for the dreary, cold winter season. Any questions about this? Just ask.
Thank you for all of your kind comments on past posts. Keep checking back to my blog for more crafty fun. It's going to be a great year! And if you're not yet a follower, please consider becoming one!
Clever idea Cathy and it looks great.
ReplyDeleteLinda
Your decoration looks great Cathy! I like it the best of the three pictured! Beautiful idea and brilliant execution! Can't wait to see the next project! Don't you just love Pinterest?! Christine x
ReplyDeleteThis is on my list of makes too - I am just waffling about ribbon choice, which means it could take a while to get going...
ReplyDeleteHappy Days!
Jenn @JennsCraftyWorld
What a great idea! Yours looks great! Thanks for the link on baking the pinecones!
ReplyDeleteThat's so pretty!
ReplyDeleteI love that you added snowflakes, really adds to it!
ReplyDeleteYours is so pretty. Thank you for all the crafty tips..
ReplyDeleteGreat idea and VERY pretty!
ReplyDeleteIt looks great! Love it!
ReplyDelete