Showing posts with label project bag. Show all posts

Tuesday, December 17, 2019

December Stitching Etc.

Starting right after Thanksgiving, all I want to stitch is Christmas! I'm a stitcher who doesn't mind stitching Christmas in June and Halloween in March. Makes no difference to me at all. I'm also a slow stitcher so I know that if I want to get something done in time for a certain holiday or a gift, I have to start early. But this month I am so in the December/Christmas mode! So let's take a little look at what I've done.

I started with UB Design "Beerenherz im Winter", which I have been told is "Berry Heart".
This is the central part of the design. I haven't started stitching the actual heart of berries yet, but I will once I finish that tree on the right. I love the snow effect on those trees. Stitched with DMC on Jobelan in the color Sandcastle.

The "Angel Of Divinity Stocking" by Dimensions is a project that had the sad designation of UFO for a while. Then I was encouraged to pick it up again.
I'm now working on the little lamb at the bottom left. It's quite the challenge with its pale colors. But I am so glad that I resumed working on this piece. I'm going to finish it. It's a kit and is stitched on white 18 count Aida.

Next up is Dimensions "Believe", also a kit.
It's about 3/4 complete! I love this project. I switched out the fabric for some 28 count Jobelan. I think the color is Lambswool which is very close to the Aida that came in the kit.

This month I also worked at the sewing machine a bit. I made a Christmas-theme project bag using the instructions provided by The Twisted Stitcher. The tutorial can be found here. This super easy project bag is my favorite out of all of them.
I've tried several different closures for this type of bag starting with the velcro that Vonna uses in her tutorial. Then I tried a magnetic snap, also with good results. For this one, I did a little double button and a piece of twine that wraps around the buttons.

Here's my annual ornament for my son and daughter-in-law.
I used part of the design from "Frosty Weather" by Blackberry Lane Designs. I needed something I could fit into this little pocket watch (by Tim Holtz) frame. One over one on 32 count fabric proved to be a challenge, but I did it! I added some micro-beads to add to the snowy effect, which are tiny beads with no holes. These were barely bigger than grains of sand.

Finally, I wanted to show you my stitched ornament display.
We have a rather skinny Christmas tree and lots of ornaments that I like to put on it. So any stitched ornaments (which tend to be larger) have to be displayed elsewhere. I took this wooden tray, added some wide ribbon, my ornaments, and some small Christmas floral items. My husband said "You put the ornaments in the trough!" Yes, it is kind of like a trough.

I hope you are enjoying the Christmas season if you celebrate. It's been going well here. My life has changed a bit since I've been here last, but I can say it is for the better. I hope to keep my blog up to date in conjunction with my YouTube channel. If you don't already know, I do Flosstube videos and my channel is CraftyCat Stitcher. So whether you visit me there or here on my blog, I hope you find something that you enjoy in what I present.

Merry Christmas and Happy New Year. I will be back soon.

Monday, May 13, 2019

A Lot Of Sewing Going On

I had a "craft room day" today. It was my day off so I dedicated it to doing stuff in my craft room. Sometimes I get so busy that I just pass that room by and look in longingly. So today was the day. I organized my cross stitch fabric, kitted up a new project, and did some sewing.

I'd been ignoring my sewing machine for a while and wanted to do a small project so I made a lined zipper pouch. I followed the complete and easy to follow instructions on the video "How To Make a Lined Zipper Pouch" on the channel "Needlepointers" on YouTube.
If you've been following my blog for a while, the fabrics might look familiar to you. I made a larger project bag out of them last year. But this small bag is for a **giveaway** on my YouTube channel, CraftyCat Stitcher. I figure the recipient won't mind the repeat fabric performance.

This bag is fully lined and has no raw edges. The only change I made was to add some medium weight sew-in interfacing. I sewed it close to the edges of both lining pieces as the first step, then followed all of the other instructions. I love it! I will be making more of these. They recommend using a zipper the exact width of the bag, but I bought a bunch of 16" zippers on Amazon for a good price. Sixteen inch zippers can be easily cut down to whatever size you need. Just don't use your good scissors to cut them!

Previously I had made a vinyl-front project bag using the instructions from Calico on this video. This will also be part of the giveaway. You can see photos of it on my previous post.

Here's what I came away with after today: I need to do craft room days more often!

Please come on back and visit again! I appreciate all of my blog followers and enjoy each and every one of your comments. See you soon!

Friday, July 27, 2018

Sew Fun!

I have a confession: I really don't like to sew clothes. I used to. In high school and college I sewed many of the things in my wardrobe. But I do like to sew, and use my machine a lot for other little projects like project bags and totes. Recently I found a like-new sewing machine for sale online, and after doing some research, I found out that the price was right and it had only been used once! I'll take it!
I already have a sewing machine, but it's pretty basic. This one is computerized and has many features that I know I'll use. So time to try it out!

One of the first things I wanted to make was a project bag. I had watched Calico's video on Youtube for a vinyl-front bag. Her idea for the bag was inspired by Dina at Making Life Count on Youtube. I like both of their instructions, but decided to go with Calico's. Here's what I came up with.
The vinyl was a bit of a challenge to sew with, but Christine (Calico) gives you some tips on how to handle it. My edging is a bit wonky, but I will say that the zipper portion of this bag is super easy. I like how it turned out and love the summery fabric. Yes, I will make more of these. I figure that practice makes perfect.

I had some of that cute paisley fabric left, so I sewed some scroll rod covers for my Rola Frame.
I used instructions from Tricia The Left Handed Stitcher on Youtube. It's a good tutorial. Just stick with it if you plan on making some of these. The video shows measuring instructions after the sewing instructions so just stay tuned.

Next, I wanted to try a really easy basic bag. I found Na T's Zipper Bag Sewing Tutorial on Youtube and thought it looked pretty easy. The beauty of this bag is that it has no raw edges showing on the inside. (Neither did my vinyl fronted bag, by the way). I used fabrics that I had in my stash from other projects.
This one has a basic top zip. I wasn't sure what size fabric to use, and my bag came out kind of square. It'll work though. I added interfacing to give the project bag more body. Next time, I might use some fusible fleece. And maybe try to make it a little more rectangular.

I'd say that I gave my new sewing machine a good trial run and have some more projects planned for it. I've also used it to edge some cross stitch fabric. All in all, I'm very pleased with my purchase.

Thank you for all of your comments on my last post. I still can't figure out what's wrong with my commenting abilities. So if I subscribe to your blog and you don't see comments from me, it's because I simply can't. Again, some blogs let me comment and some don't. No rhyme or reason. Also, I found out that I can't do replies on comments on my own blog!! 

So I'm going to answer Mary's question from my last post right here. Mary, here's how I do my stitching rotation: I stitch on one project for about three days, and then I switch to the next one and stitch that one for three days. And so on and so forth. If I have something that I really want to finish, I'll add it to the rotation more often.

Thanks for all of your comments! I'll be answering any questions right here in my blog. And meanwhile, I'll try to figure out what the deal is with my commenting ability. I hope you'll come back to visit and see what I'm up to.

Friday, February 21, 2014

Dusting Off The Sewing Machine

As you may or may not know, last week the Atlanta area experienced its second major snow/ice event of the winter.  The big bonus for me was a couple of unexpected days off.  Not one to waste a free day by watching bad Lifetime movies and eating junk, I made the decision to work in the craft room.  OK, I'll come clean.  I HAVE wasted a few quite a few days off watching bad Lifetime movies and eating junk.  But last week, as I watched the snow fall from the safety of my cozy craftroom, I completed a couple of sewing projects.

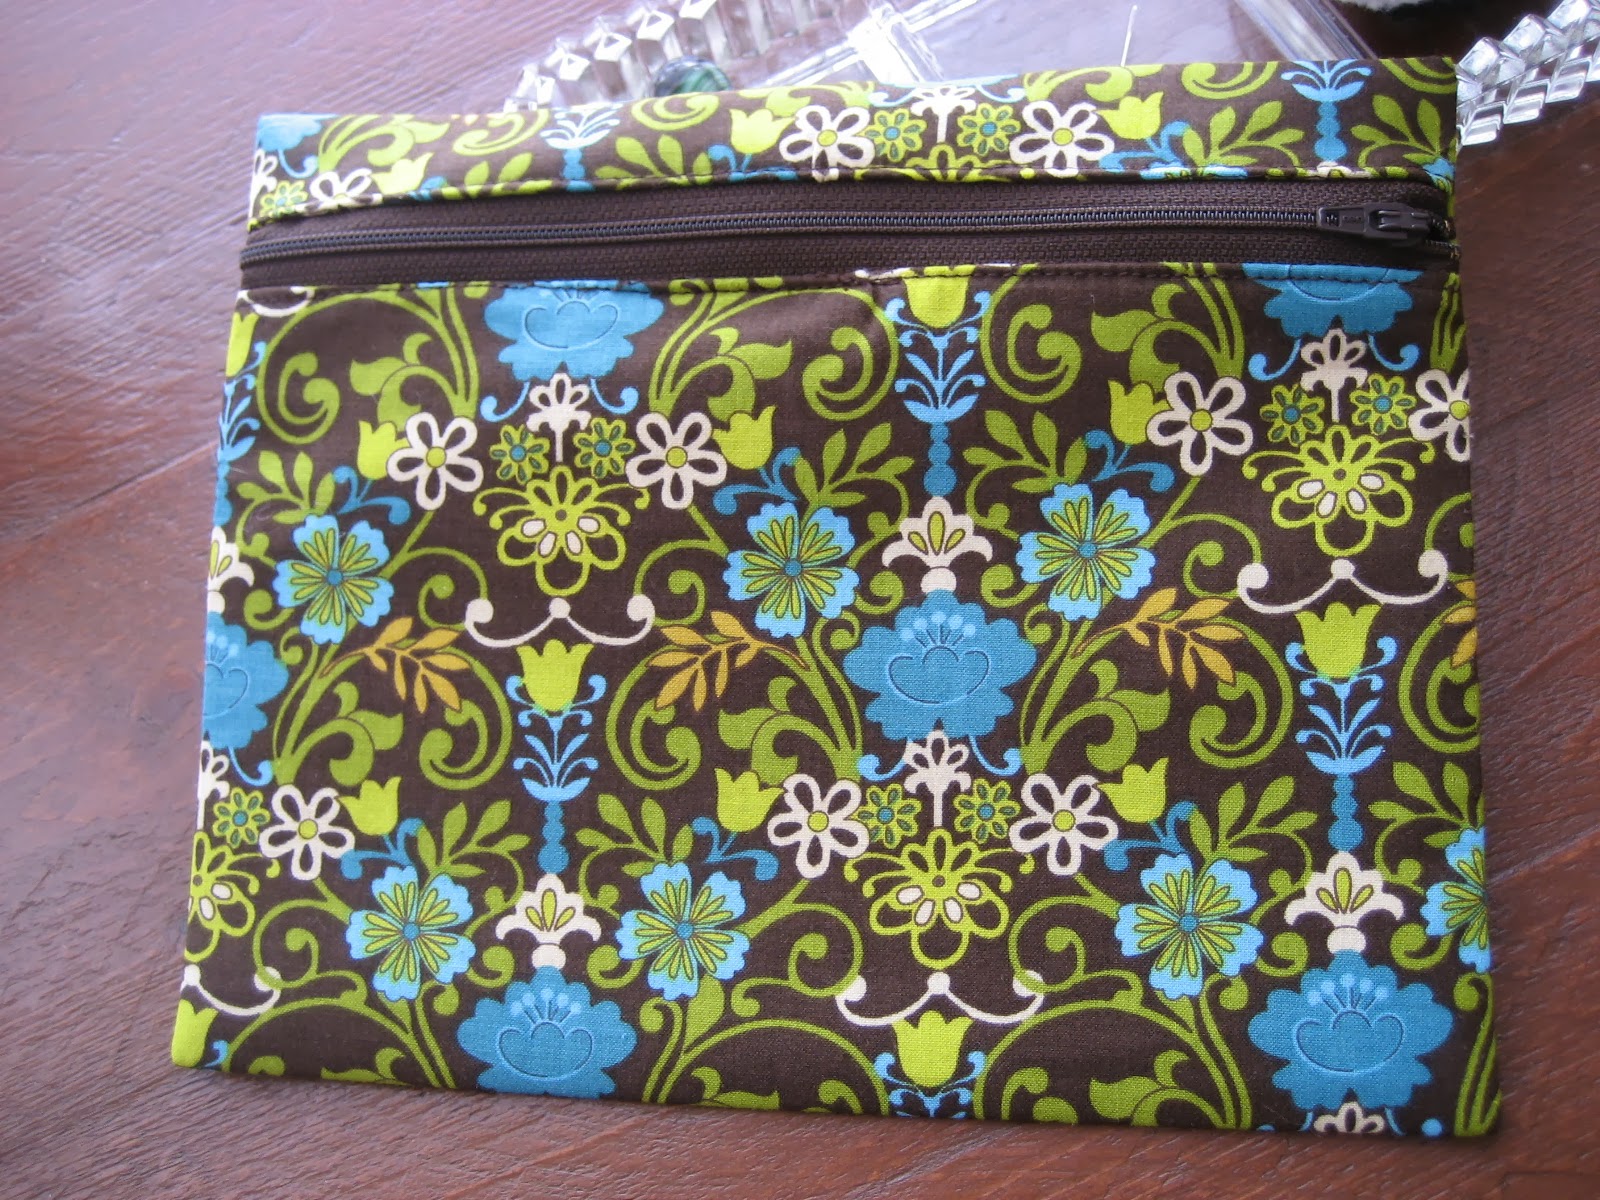
I've been wanting to try my hand at stitching up a zippered project bag.  I found some good basic instructions for one on LuAnn Kessi's blog.  Over the last couple of years I've collected lots of pretty fabric remnants from the tote bags I've made.  My goal is to create something from these remnants, and little project bags would be just right.  So I followed the instructions for sewing the bag.  You'll notice that I didn't do the quilting part, even though I think the quilted finishes on her blog are gorgeous.  I'm just not a quilter, but I love seeing other crafters' quilt finishes.  Anyway, I chose a cool brown print and a coordinating polka dot fabric for the lining. 
A fun, easy project that goes together quickly.  And a great use for all of those nice fabric pieces that I have.  I'll definitely be making more of these now that I have the hang of it.  More zippers are on my shopping list.

I also made another little ort container and matching scissor fob for a gift. 
I love these colors, and was happy to find that I had beads that matched the fabric exactly!  I'm glad to say that the recipient was delighted with these!  Another good use for fabric remnants, don't you think?

Thank you to all of my followers who have left kind and encouraging comments on my posts.  And thank you to my new followers!  I'm getting closer and closer to that 200 follower mark.  Hmmmm, do you think I should have a "200 Follower Giveaway"?  I'll have to think about that!

So I think I used my snow day pretty well.  I just need some more snow days.  No, I take that back.  No more snow, please!  I have to figure out how to get some snow days without the snow.