Tuesday, April 9, 2013

My Frame-Up Means A Giveaway!

First of all, how do you like my blog's new look for spring?  Pretty chic and fashionable, right?

Last weekend, I figured it was about time to get my framing project done.  I'd had the framing materials for LHN's "America" for a while, so I was ready to go. 
The cherry wood frame sets off the stitching nicely, don't you think?  OK, so I'll admit it's not completely finished.  My framing assistant has to affix the glazier points and put on the hanger and then I'll cover the back.  But besides that, it's all done. 

I've decided that this lovely patriotic chart needs a new home and I'm pretty sure that there's someone out there who would love to stitch this.  Do you know someone by any chance?  Let's do a giveaway! 
1.  Be a follower of my blog.
2.  Make a comment on this post by April 14th.  The 14th will be the last day for comments to enter the drawing.  (If you wish to comment after the 14th just to tell me how awesome my blog is, you can still do that.)
3.  Make sure that there's a way to reach you!  This is very important!

I will draw a name on April 15, our traditional tax day.  Didn't they extend it this year, or did I dream that?   I have no idea why I picked that day.  I guess I associate it with fun, fun, fun. 

Good luck!

Tuesday, April 2, 2013

Easter, Stitching And Other Stuff

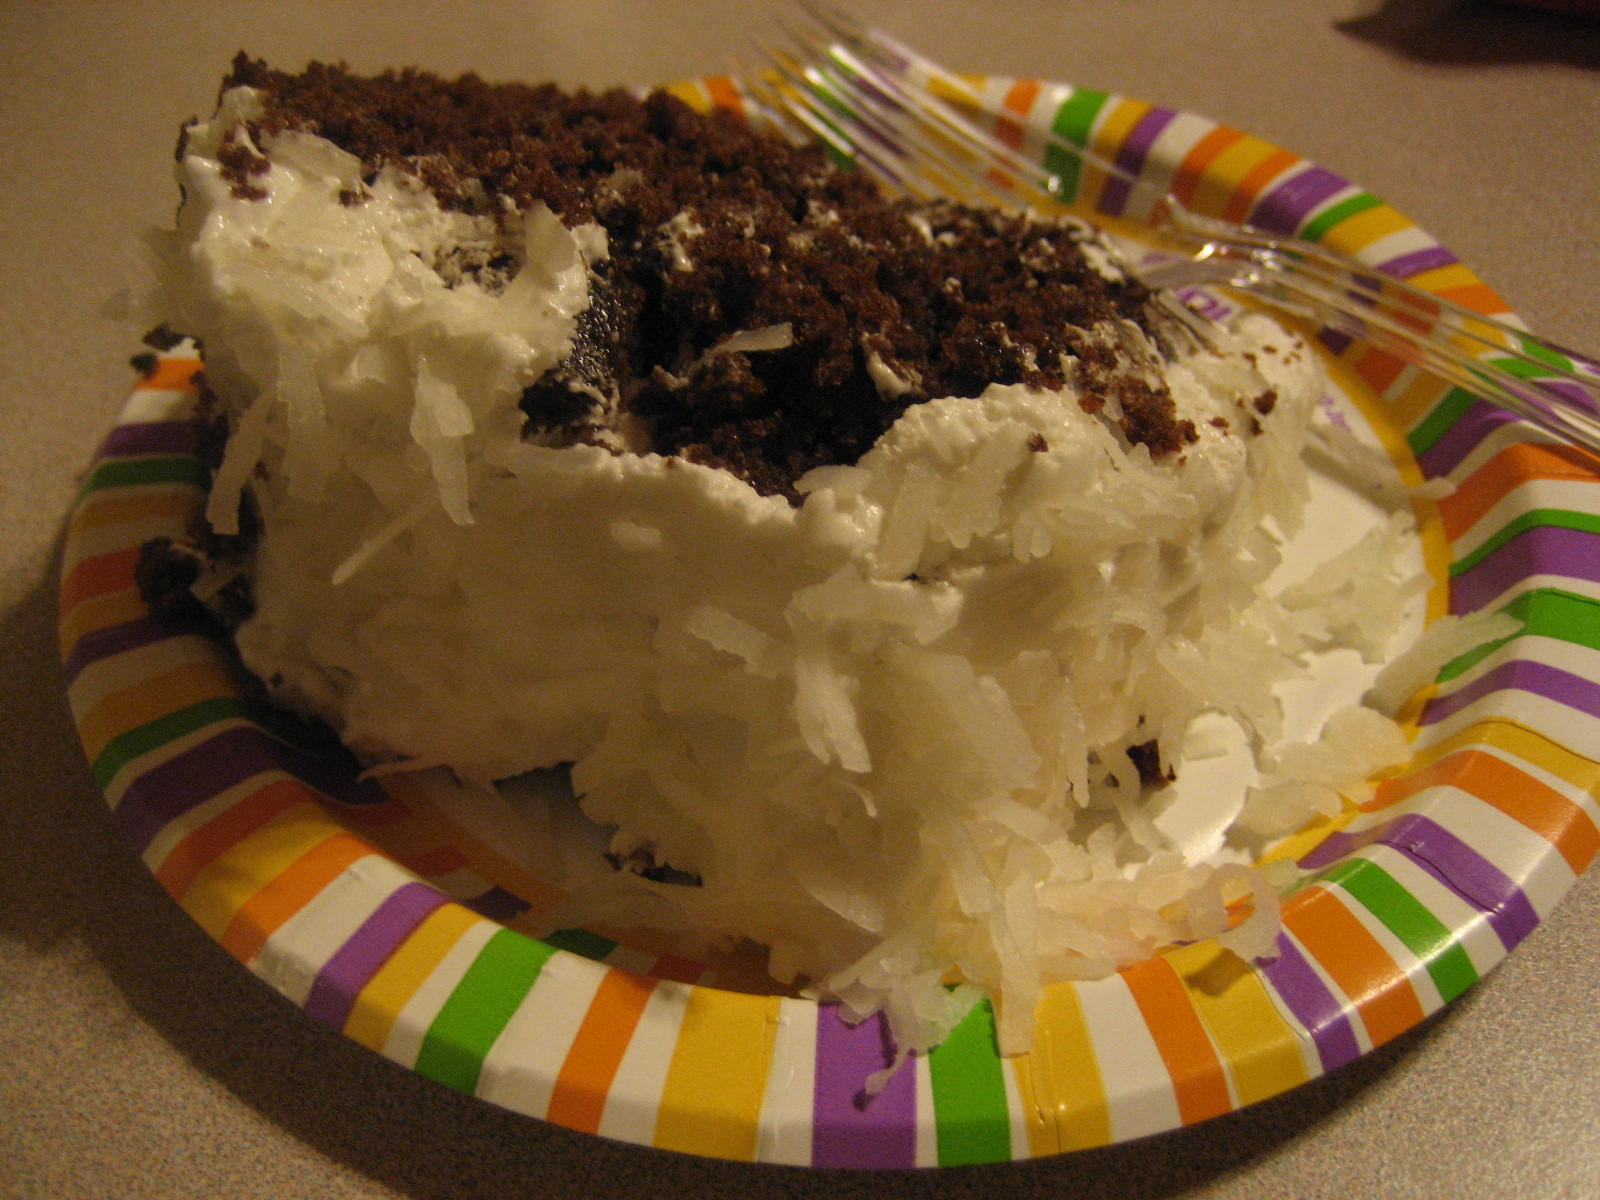
I hope everyone had a Happy Easter.  Easter is the holiday we host at our house, and per tradition I baked the lamb cake.  I probably post a photo of one of these every year, but who can get tired of seeing a little fluffy lamb.  I also crafted some bunny napkins to make the table look festive.  Ah, traditions!
I wanted to show you the pendants I made for my nieces.  All it took was a pendant frame, some Mod Podge, a tiny piece of scrapbook paper, a sprinkle of glitter and some Mod Podge Dimensional Magic.  Fun to make and they turned out pretty well!
Sheila and I plan to craft some more Ice Resin pendants soon, so you'll be seeing the results of that also.

As promised, I'm posting the photos of the stitching projects being worked on at our Sisters In Stitches retreat.  I don't know all the design names, but I can find out for anyone interested.
Thea's
Trish's
Peggy's
Sheila's
Pat's
Terrie's
Laurie's
OK, Blogger, I give up.  Why do you flip some of my photos on the side?  It doesn't happen all of the time, but it always chooses one to do this to!  Rant over.  I just thought you'd like to see some of the stitching my friends do.  Mine isn't in there, but you can be sure you'll see any and all of my progress right here in future posts!

Once again, I'd like to say "Welcome" to all of my new followers!  I am so happy that you think that my blog is a good place to visit! 

Tuesday, March 26, 2013

A Stitching Retreat!

Where have I been lately?  Not here, that's for sure.  After I completed all of my quilt squares I found myself with very little to stitch.  Which is a ridiculous statement if you've ever seen my stash of charts.  So I didn't stitch for a while, and instead chose to work on other projects and speed-read a couple of books.  But mainly I wanted to get a couple of new starts ready for our first Sisters In Stiches retreat!

Our very first retreat was held last weekend at James H. (Sloppy) Floyd State Park in Summerville, GA. We arrived on Friday afternoon in good spirits to find a couple of cute cabins that would be the site of our weekend stitching getaway.
Even though the day was gray (and the weather would stay that way for the rest of the weekend), no one seemed to care because we were here to stitch!  Although it would have been nice to have a little sun and warmth in order to enjoy a walk by the lake.  
The cabins were comfy and well stocked with kitchen supplies to help us to fix our meals.  We all signed up for a meal during our stay, and each one was delicious!  Not to mention the yummy snacky stuff everyone brought and wonderful desserts made by Peggy.
Peggy brought a basket of Easter treats
We also had a sweet little mascot for our retreat weekend.  Peggy's dog, Molly, was a well-behaved and welcome guest, and will be a part of our future retreats.
Oh yes!  We did stitch!  This post is already so photo-heavy so I will feature our stitching on a future post. 

All in all, our first retreat was an overwhelming success.  We commented several times during the weekend about how well organized and planned (thank you, Thea!) our weekend was.  How could we go wrong?  Lots of stitching, good food, plenty of conversation featuring interesting subjects, and good friends add up to a wonderful time.  We're already planning a fall retreat!
Sisters In Stitches (minus me). 

Tuesday, March 12, 2013

Something New In The Floss World

As stitchers, we all love new products that will make our stitching more enjoyable.  I was checking on what was new on Ebay one day (there's always something new there, right?), and I ran across Garibaldi's Over-Dyed 6 strand cotton floss.  What?  Floss that I didn't know about?  I placed a bid and pretty soon was the owner of a collection of lovely jewel-toned floss skeins. 
The colors are beautiful, nicely variegated, and the thread itself is soft and silky.  Then I put the new floss to the test.  I decided to stitch my last quilt square for the Sandy Hook project totally in Garibaldi Floss.  The red tones were perfect for the little heart freebie I wanted to stitch for this square.   In addition, I was stitching on some of the stiffest, scratchiest Aida cloth there is.  Talk about the ultimate test for a floss.
Turned out pretty well, didn't it?  See the subtle shading variations?  The thread was easy to work with, and I noticed that I didn't have as many thread knots or tangles as I did on my previous square.  Coverage was very good too (I used 2 strands).

The only drawback that I can see is that the floss isn't numbered or named, so it wouldn't be appropriate for a project where 2 or more skeins of the same color are needed.  But for small projects or a small area on a large project, Garibaldi floss would work very well.

Garibaldi's is a small company and doesn't have a website yet, but Shawn, the owner of the business and creator of this pretty floss, says that a website is a future goal for easy choosing and ordering floss.  Her floss is currently available on Ebay, where there are quite a few auctions for collections of different shades.  So go and get yourself some!  And while you're there check out their rayon floss too.  I am so bossy.

I'll be taking along some of the Garibaldi's floss on the Sisters In Stitches upcoming retreat.  And if my fellow Sisters are nice to me, they might just get some of their very own. 

Saturday, March 9, 2013

Scrabble Pendant Giveaway Winners, And Another Winner Too!

I'm happy to announce the winners of my Scrabble tile pendant giveaway!  They are:

Faith from Faithfully Stitching -- winner of the middle pendant, the blue floral.
and
Sarah Beth from Sarah Beth's Cross-Stitch Blog -- winner of the pendant on the right, the gold and lace.

Congratulations to you both!  I've e-mailed you and am waiting for your mailing info.  I hope you like the pendants!

Also, because the winner of my Grow Your Blog giveaway didn't contact me after several e-mails, I've used the random number generator to pick a new winner.  And that would be Angela from Stitching In The Zoo
Angela has won the springy pink and green beaded bracelet.  I've already e-mailed you, Angela, and am waiting for your info.  Congratulations!

This giveaway thing is pretty fun!  Look for more giveaways here at CraftyCat.  I'm thinking about some cross stitch charts that would love new homes!

Sunday, March 3, 2013

Triple Word Score - You Win!!

I've been wanting to try my hand at making some of these Scrabble tile pendants for a while now.  So I was looking through my craft junk supplies and found that I had almost everything needed to make them except for Diamond Glaze.  Off to the craft store I went only to find out that they didn't have the elusive Diamond Glaze, but the nice lady at the store recommended something called Triple Thick.  That sounded good, given that it had the word "diamond" on the label.  Then another product caught my eye - Mod Podge Dimensional Magic.  Something new?  I don't know, but the word "dimensional" made me think that it might be something like the Ice Resin that Sheila and I used to make pendants.

I arrived back at the craft room only to discover that I already had a product called Aleene's Paper Glaze.  I don't know how long I've had this, or what I used it for, but there's that word "dimensional" once again.  With three different products at hand, this turned out to be an experiment in Scrabble tile pendant creation, to see which I liked best.
Surprise!  I like all three of them!  Their finishes are all very glossy and ceramic-like. And the pendants are as cute as can be.  I'd recommend all three products.  Next, I'll be using the Mod Podge Dimensional Magic in a little metal pendant frame to see if it compares to Ice Resin. 
Let's call them (from left to right) A, B and C
I know that the photo doesn't show the shiny glossiness of these little pendants, but take my word for it, they are simply sparkly!

Here's where you come in:
                     It's Giveaway Time!!!
If you'd like a chance of winning one of these pendants, just become a follower of my blog (if you're not already), and then leave a comment on this post letting me know your first, second and third choices (A, B, or C)I'll draw 2 names on Saturday (each winner wins one pendant), March 9th in the afternoon.  Make sure I know how to get in touch with you.  The drawing is for the pendant only, no chain.  Good luck!

Monday, February 25, 2013

Frame It Yourself

The question for many of us stitchers is how we're going to finish our project once we're done stitching it.  We can find all kinds of finishing methods online, but probably the most common one is to frame it for displaying on a wall.  If you've ever had something professionally framed, you know all about the sticker shock involved with that.  There is no question that the quality of professional framing is excellent, with countless choices of mats and frames.  But if you stitch a lot and want to frame a lot, it's good to know another alternative so that you don't have to eat store brand macaroni and cheese every night because your food budget is going to the local frame shop.

I found American Frame online and made the decision to purchase some framing supplies for a small project to frame by myself.  It was surprisingly easy, and I've since framed many projects.  This company has always supplied me with very good quality frames and supplies to do the job correctly.

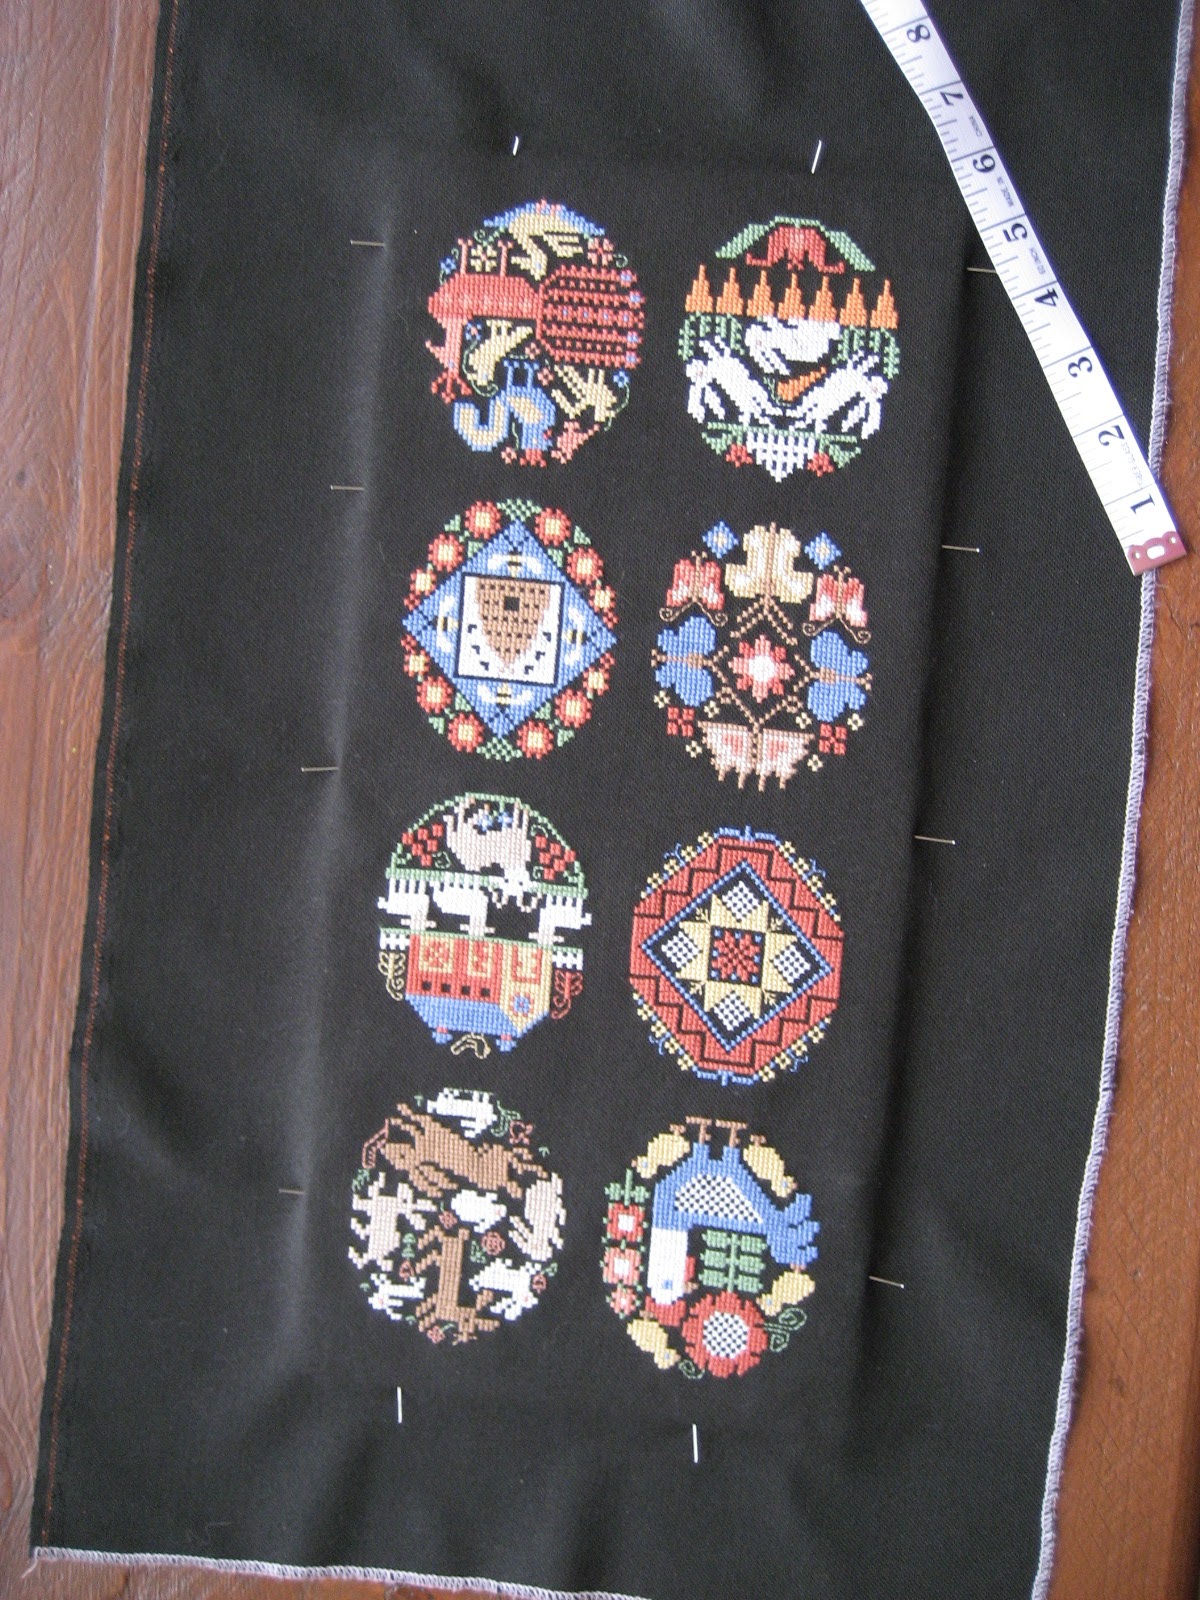
This past weekend I put my Folk Eggs into a frame and photographed the steps to help you to understand just how easy it was to do.

First, I placed the mounting board (foam core) on a clean surface and then laid the finished work on top.  Then I measured around the edges to get an even margin around the edge of the work, and began to pin.  I use silk or satin pins which go into the side of the foam core easily.  I left them sticking out for the time being. Keep measuring to make sure that the work is centered.
Next, I added pins, still measuring and when it's even all around I start pushing the pins in all the way.
Now is the moment of truth. Place the pinned work into the frame to make sure (once again) that everything is even.  Now is the time to make any adjustments.  Just take pins out a couple at a time and adjust the fabric where needed.  You don't have to unpin the whole thing.  Who wants to do that?
Looks pretty good so far
You can see that I don't have much of a space between the edge of the stitching to the edge of the mounting board.  That's because I chose not to mat this particular project.  You'll have more of a margin if you choose to mat. Now let's do something with all of that fabric.  You can trim some of it off, or leave it as is if it's a manageable amount.  I left mine as is.  Time to start taping.
I use about 1" of Terrifically Tacky (double sided) tape to stick the corners to the mounting board.  Don't pull so tight that the corners pop through the fabric!
Fold edges in one at a time and use enough double sided tape to adhere the edge.
All taped down and placed into the frame
Looks like I could have trimmed some of that fabric to have a little less bulk.  Yeah, probably, but it's not going to affect the framing and I'm not about to go and untape and unpin everything after all that.  Uh-uh.
Here's the part where I need a little help.  Those little glazier points are great for holding the work into the frame but they can be really difficult to put into the wood.  So Mark is my trusty helper at this point.  As a bonus, he also puts the sawtooth hanger on the frame.

Next, you need some kind of backing on that to keep everything clean for many years.  I use plain brown kraft paper.  Well, mine has little stars on it.  Just cut a piece a little smaller than the frame.  Brush on a light coating of white glue on the back of the frame and stick that paper on.  Then spray a little water on the paper.  Really.  When it dries, it's nice and flat.  Just a light spray, don't soak it.
And here's what I ended up with!  Once again, I'm very happy with this frame.  It's kind of a distressed, whitewashed look with tiny bows all around.  It goes perfectly with the Folk Eggs.  And, miracle of miracles, it's all ready for Easter!

As I said before, I chose not to use a mat in this framed piece.  I also decided not to use glass or plexiglass.  I use glass for some projects and both mat and glass for others.  American Frame sells these items, and also cuts everything to order for your project.

I hope that this little how-to helps you if you want to become a DIY framer.  This is just how I do framing, and I'm sure that there are other methods to each of my steps.  I'm always open to suggestions for new or better ways of doing things, and this is no exception.  So let me know what you think!