Thursday, December 24, 2015

And A Merry Christmas To All

Here we are in the happiest time of the year, and as usual, I'm finding myself saying "how did Christmas get here so fast?".  Do you do that too?  Well, today is the day that I can finally relax and enjoy the day.  I plan to bake cookies and make a couple of dishes to take to our family Christmas celebration tomorrow.  But I thought I'd start by posting a short blog.

Do you have a favorite Christmas memory?  Or a gift that you remember so well that you received as a child?  I have one in particular.  It's a sewing basket.  I realized early on - maybe at about 8 years old - that I loved to sew.  I started with tiny patterns to make clothes for my Barbies.  My mom knew that my interest in sewing was not going away, so for Christmas when I was 10 she bought a sewing basket for me.
Christmas, 1968
I loved this gift.  I could have my own supplies and keep them in a special place.  And I used it.  And used it and used it.  Now, many years later, I still have this sewing basket.
There it is, displayed in the craft room.  It's missing a foot, the lining is a bit torn, and the rattan is coming apart in a couple of places, but it's still cute and usable.  Now, that's a special gift.
Looks good for 47 years old!
Here's one more cute, nostalgic picture taken many, many years ago. It looks like it's Christmas in 1964.  Pictured are my brothers, John and Jim, and my sister, Sheila and me.  Love this picture.
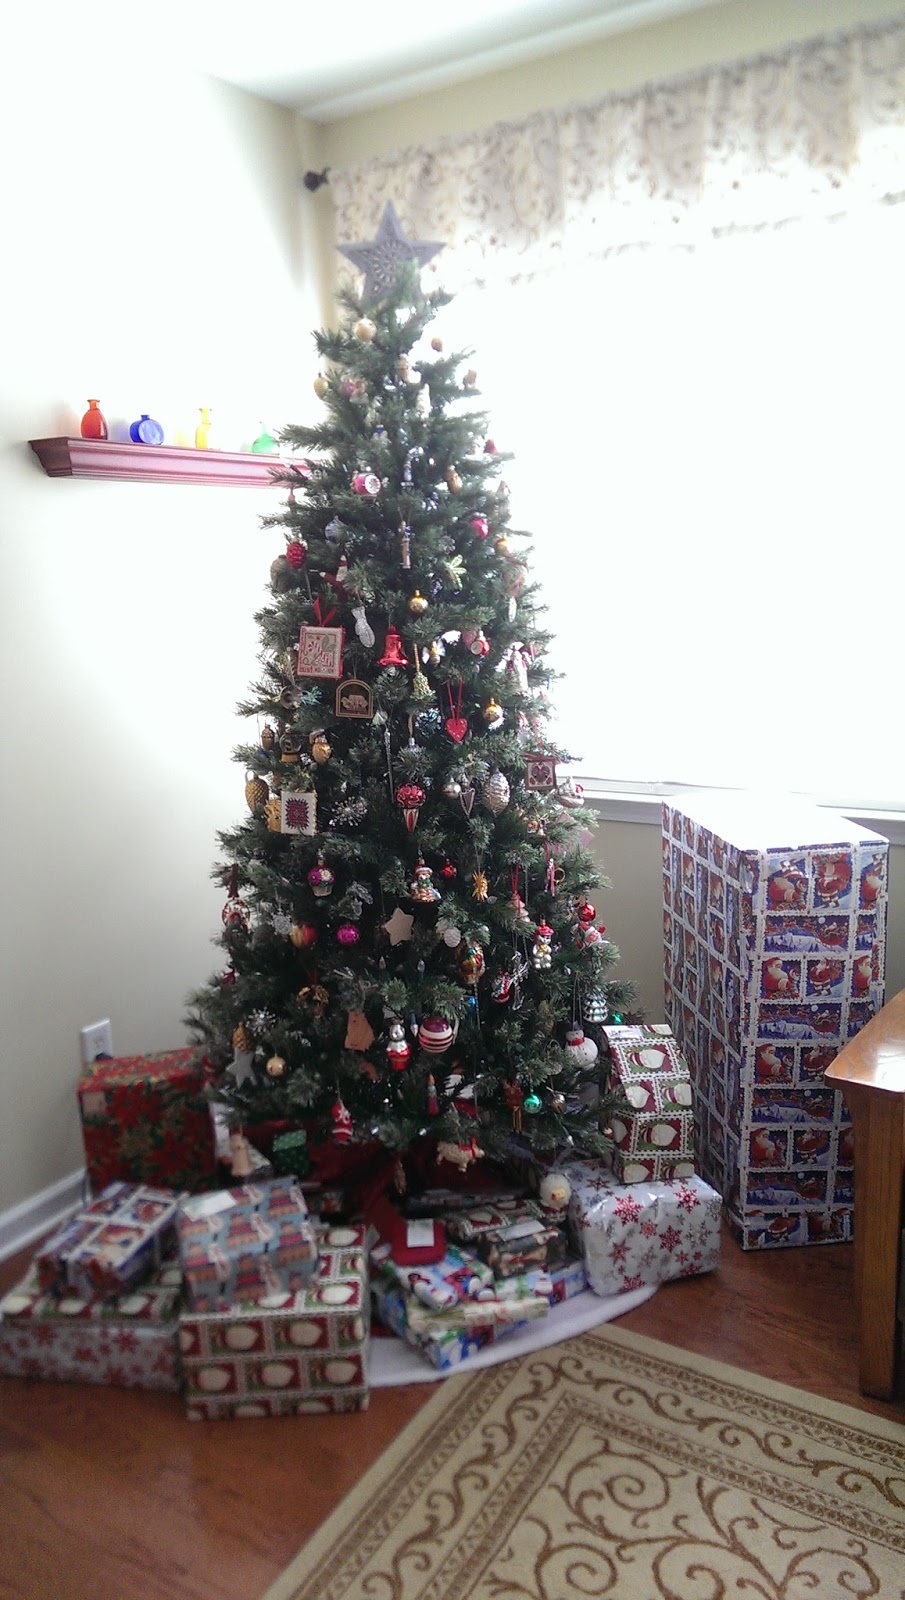
So I hope that you have a very Merry Christmas and a happy and blessed New Year.  And I hope that some beautiful memories are made for you.  I'll leave you with a photo of our Christmas tree in all its splendor.


Saturday, December 19, 2015

Wrapping Up The Year

I'm still here!  Thank you for sticking with me at the amazingly busiest time of the year.  And I don't even have school-age kids! 

A lot has happened since I last posted.  We went to Virginia for Thanksgiving and had a lovely time with our son's future in-laws.  It was a very good trip all around and I'm glad we got to do it.  Also, our little Ozzy cat has been sick. Luckily, we boarded him at the vet's over Thanksgiving and they figured out just what to do for him and he's getting back to his normal self!
Last Saturday was the Sisters In Stitches annual Christmas extravaganza.  We bring food to share, do our gift exchange (yes, we do that part every month), bring little gifts to hand out, and enjoy the day as we usually do.
Some of the little gifts I received.
Our gift table, extra special.
Lunch is served.
Whoopie pies made by Peggy.

I made some little gifts for everyone.  They're the quilted look ornaments that I made for my October Pinterest project.  These are fun and quick to make and they turn out so cute.  I even made a few extra for some special people, but they're not pictured here.
We had a wonderful stitching day.  It was so good to catch up with everyone.  And I actually got some stitching in, which reminded me how much I like this hobby.  Now I'm itching to get through all of the Christmas preparations so that I can sit for a while and stitch. 
A little more progress on Kaleidoscope.
 Last Sunday, our neighborhood had its annual Night Of Lights.  Luminary kits are sold and most of the homes glow with lights and other decorations.  Hot chocolate and cider stands are spaced throughout the neighborhood.  All proceeds go to a special cause.  We had so many visitors drive through that traffic was messed up on some of the roads around the subdivision.  Maybe it was because of the addition of a camel in the live Nativity.
The camel thinks he's the star, but there were also lambs and goats.  And maybe a donkey?
And that same night there were a bunch of car break-ins in our neighborhoods.  If the car was locked, they broke windows. We lock our cars every night, but on this particular day we didn't.  The hooligans must have thought they hit the jackpot when they found our car unlocked. Hah, nothing in our car but an outdated GPS, some power cords for...something, an ice scraper, and a road atlas from 2003.  So nothing was stolen, but creepy nonetheless.

I'm almost done with everything I've had to do for Christmas.  Almost.  I'm just going to enjoy the season, especially when our son, Matt, and his fiance, Stephanie, arrive tonight!  I hope that you also can enjoy this special time of year.  

Like these guys, with peace, love, and harmony.


Friday, November 20, 2015

November Pinterest Project - In Time For Christmas

Here's a project I've been looking forward to making for a while now.  So I figured that this would make a fun Pinterest project for November because it's a Christmas wreath.  If it came out as cute as in the picture the pin showed, then I'd have another wreath to hang up at my favorite time of the year.  You can see the instructions HERE at Little Birdie Secrets blog.  Go on, take a look.

Back to my attempt.  It was filled with a LOT of setbacks.  But keep reading.  I didn't scrap this project because I knew I could get past these difficulties!  And the finished product would be worth it.  Such optimism!

The first thing I did was gather my supplies.  I mean, buy my supplies.  Aside from the hot glue, I had no Christmas scrapbook paper or wreath form.  It calls for a wooden wreath form, and after checking two craft stores, I ended up ordering one from Amazon. 

Then I set off to do the fun part which was cutting the stars.  I got out my Slice machine and cut a perfect 4" star.  That was encouraging, but when I came back to cut the rest, I couldn't get the Slice to work.  It made all kinds of strange noises and showed an error message on the screen.  Mark took it apart (he likes a mechanical challenge) and found that the problem was due to a cracked drive gear.  (No easy fix and I've since found that the company that makes Slice has gone out of business.)
R.I.P. Slice
I found a pattern for a perfect 4" star online and made my own template out of heavy card stock.
My star template
I hand cut (thanks, Slice) a bunch of stars out of my Christmas paper and then creased them using the creaser attachment on my Fiskars paper cutter.  I ended up using 13 of the 4" stars for my wreath.
Then I found a 3" star pattern for the background stars on my wreath.  I cut a bunch of those but didn't have to crease them because they're just glued on the wreath form so that the form doesn't show.  I quickly found out that the 3" stars would not do the job because I had bought an extra-wide wreath form!  Arrrrrrrgh!!!  And that mistake would affect how my pretty 4" stars would look too.

I felt like I was back at square one.  I went into the third craft store in our area for inspiration, and there it was - a 12" diameter regular width wreath form. 
The 3" green stars were overlapped on the form using hot glue.  I used 17 of them.  They look brownish in the photo, but they're a dark green.

Then the pretty stars went on.  I forgot to tell you that I bought little stick on rhinestones and some other stick on things, but I don't know what they're called.  I stuck one in the center of each star.
When it came time to glue the 3-D stars on, again I used the recommended hot glue.  This was not easy however.  Dots of glue are supposed to be applied to the inner corners of the stars, but because my stars overlapped, the inner corners didn't always make contact with something.  Therefore, some of these stars are hanging on with only a couple of drops of glue.  Should be ok though.

And here it is.  After all of that, I finally had a completed wreath!  All of the silly stuff that happened during its production were worth it and quickly forgotten!
Things I learned about this project: 1. Cutting out simple shapes is no big deal.  I should have remembered this from teaching preschool.  You don't need a machine for this.  Just draw all of your shapes, get a good pair of scissors, and then when you're sitting in front of the television, cut away! 
2. Measure, measure, measure.  3. Work quickly with hot glue.  Not my favorite glue in the world, but I can see why it was suggested for this project.

Here's a list of what I finally ended up using for this pretty star wreath.

-A 12" diameter, 1-1/4" width wooden (could be pressboard, I don't know) wreath
-3" stars for background, heavier card stock, 17 of these
-4" stars (stars of the show, haha) out of Christmas scrapbook paper, 13 of these
-hot glue
-rhinestones, buttons, flat-backed shiny things for the center of the big stars.
-Something to cut out those stars - scissors are fine, but if you have a cutting machine that actually works, more power to you!
-Something to crease the big stars
-ribbon for a bow, if you want one

Like this wreath?  Now go make one.  Because I'm not giving ANYONE this one! Please understand why!

Friday, November 13, 2015

Catch-Up Post!

Time to catch up so you can see what I've been doing.  First of all, you know how I like to make beaded jewelry, right?  I saw a very pretty bracelet online and decided to recreate something like it.  It contained some jewelry findings that I'd never seen before.  These tube beads gave a really cool look to the bracelet, so I was off on a mission to find them.
And here it is.  I found the silver tube beads in different sizes at Beadaholique.  All of the other beads were found in my stash.  I used two of the tubes on each side, strung on their own piece of jewelry wire.  Then for the center section, I threaded the two wires through every bead. 
You can also use one tube with nice results.  When the bracelet is worn, the tubes lie one on top of the other. 
This was a fun project.  Quick and easy to make and I'm very pleased with the finished product!

I'm also still working on Kaleidoscope, although I may take a break to stitch some Christmas ornaments.  It's coming along well!
See? Actual progress!
My next project wasn't so crafty, more like a necessity.  I have some jeans that were just too long.  Even with my highest heels (not all that high, I'll admit), they dragged on the ground and got soaked with all of this rain we've had.  I saw a new hemming idea on Pinterest and decided to attempt it.  It actually may not even be new, but I've never seen it.

Basically hemming the jeans this way saves the original hem, with the orangey/gold/brown thread.  That's left intact, while some fabric just above the top of the original hem disappears.

This is what they look like when they're done. You can hardly see the repair from this angle, which is handy because this is the angle you and anyone else is going to see your jean's hems.  And who looks at other peoples' jean hems?  I mean, really.  But looking at them from the other angle is a different story.  I think that another steam press may help that.
Oh well, who cares?  They're now at a length that won't allow them to drag in the rainwater and get frayed and all that.  I personally don't like rolling them up - too bulky and uncomfortable.
This is how they're finished on the inside.  Nice and neat.  If you're interested in trying this, you can find the instructions HERE.

Just a note about my November Pinterest project.  I found something perfect to make, but am having problems at every step!  It includes an item that "can be found at your local crafts store".  Not so much.  I had to order it online.  THEN the device that was going to make a step of this project quick and easy decided to break.  I believe it is non-fixable.  Is all of this going to stop me? NO!  I will forge ahead with great success!  I'm just not sure when it will appear in a post here after all of these roadblocks.  Just stay tuned.  It will be worth it!

Friday, October 30, 2015

October Pinterest Project: A Little Christmas In October

I'm extremely happy with the way I've been keeping up with the monthly Pinterest Project attempts.  And most of them have been successful!  I may keep this little project up in 2016.

This month, I looked ahead to Christmas.  It's always nice to do some crafty holiday things way before Christmas.  Let's be honest, if I don't have my Christmas projects done before December 1st, they're probably not going to get done.  Once December starts, the time passes like a flash until the 25th. 

So my Pinterest inspired project this month was Folded Fabric Ornaments.  I found this tutorial on Pinterest, and the creator of it is Crouton Crackerjacks who has many videos on Youtube.

Look at what I made!  It's a simple sewing project that can be done probably in about a half hour or less if you're a fast sewer and don't get distracted by things in the drawers of your craft table.  Ahem.  It's a very good tutorial, with clear instructions.  When you look at the video you may be surprised that this little square started out as a 7-1/2" circle.  It's all in the folding.

Funny story about this.  In the video, he suggests using contrasting fabrics, a light and a dark for contrast.  So I go off to Joann with a coupon in my hand, or rather, on my phone.  I'm so tech savvy.  They already had a very good selection of Christmas fabrics, so I was sure I'd find something good.  The first one I found was the off white with gold snowflakes.  I put it into my cart and looked for a darker fabric which I located quickly.  Then I saw more fabrics on the other side of the aisle!  As soon as I saw this red and gold holly leaf fabric, I grabbed it and put the other one back.  When I got home and began my fabric cutting while watching the tutorial, I realized that these 2 fabrics were the EXACT SAME ONES used on the video!  This was totally unintended!  I honestly didn't pay attention to the detail on the fabrics when I first watched the video, just recognizing that one was dark and one was light.  Wow, weird, huh?

I would pronounce this Pinterest inspired project a success.  It only required two circles of fabric, a sewing machine, needle and thread for a little hand sewing, a button or decoration for the center and some thread for a hanger.  I used a gold metallic.  And the easy to follow instructions were a plus.  I think that if I made more of these, I would get them done faster now that I have the hang of it.  I could also see doing the cutting and machine sewing of a bunch of these, and then sitting down in front of the tv to do the rest. 

So get some fabric and get sewing!  What excellent little gifts these would make!

Monday, October 26, 2015

Kalideoscope And A Bouquet of Happiness

Today is overcast, rainy, windy, and cold.  The cats are hissing at each other.  And I'm sick.  WAAAAAHHHHHH!  That's all of the whining and excuses for one day.  Maybe I just need to get stitching and forget my woes.

My current project is one that I'm enjoying stitching very much.  I've made a bit more progress on Sheena Rogers' Kaleidoscope.  I haven't been the most prolific stitcher during the past six months or so and I can't really say why.  It's not exactly a slump, more like a semi-slump. But this is a pretty cheerful looking project with its combination of beautiful colors, and it's getting me out of whatever kind of slump I'm in.

I don't even mind all of the color changes because it's so rewarding seeing it come to life.  I think I will pick this up for some evening stitching if I don't fall asleep first!

My stitch group's October Stitch Day was a couple of weeks ago.  I've mentioned before that we have a gift exchange at each of our get togethers.  Look at what I got!
It's a bouquet of floss in autumn colors. Who doesn't like to receive more floss?  I mean, you could already have 4,000 skeins of DMC but getting a gift of more can make you do a little happy dance.  Who's with me?  Come on, I know I'm not the only one!  Love this.  Look at them - all colorful and shiny.  Makes me want to start a fall project.  Hmmmmmm, I may have to look through the chart collection......

Friday, October 23, 2015

Giveaway Winner!

And the winner of my "Learn Something New Giveaway is:

Linda from the blog, Stitchin With My Furbabies
Congratulations, Linda!  I'll be e-mailing you soon asking for your mailing address.  Then I can ship your fabric, needles and needle case to you!

Thank you to everyone who commented on this post and entered the giveaway.  I'm sure I'll be having more giveaways in the future, so I hope you'll visit often.  Oh, and also visit for all of the awsomeness you find here.  Hee hee.