Yes, I finally did it. I became an official Flosstuber. In case you're not familiar with Flosstube, it's a community of stitchers who do videos on Youtube. If you told me a year ago that I'd be doing this, I would have laughed and said "yeah, right". But here I am, CraftyCat Stitcher. As I say in my video, I didn't know what Flosstube was until about eight months ago. I started watching and was pretty surprised at how many stitchers create little videos and post them on Youtube. I've only done one so far. If you want to see it, just go to Youtube and search "CraftyCat Stitcher".
In my last post I mentioned my stitch group's stitch day a couple of weeks ago. This was our annual birthday celebration and I made each stitcher a bracelet. I had fun making each one unique, with different combinations of beads. Memory wire bracelets are easy to make. You basically only need wire and beads, and sometimes a charm if you want. But the important thing is to have the proper cutters for memory wire! That stuff is pretty tough!
I also wanted to wrap them differently than I usually do. I found some cards in the clearance section at Hobby Lobby and devised my own way to attach the bracelets.
 |
| Here they are all packaged up. |
Thea also got crafty and made us all these cute key wristlets.
As you can see I've already attached my keys and have been using this wristlet every day! I always keep my house keys separate from my car keys (for some reason), and this makes it easy to find my keys in my purse. It's especially handy when I have a bunch of stuff to carry into the house from the car, like when I get home from work. I have a purse, a lunch bag, and sometimes books and grocery bags. I just pop this on my wrist and no more fumbling around for my house keys! Cute and functional!
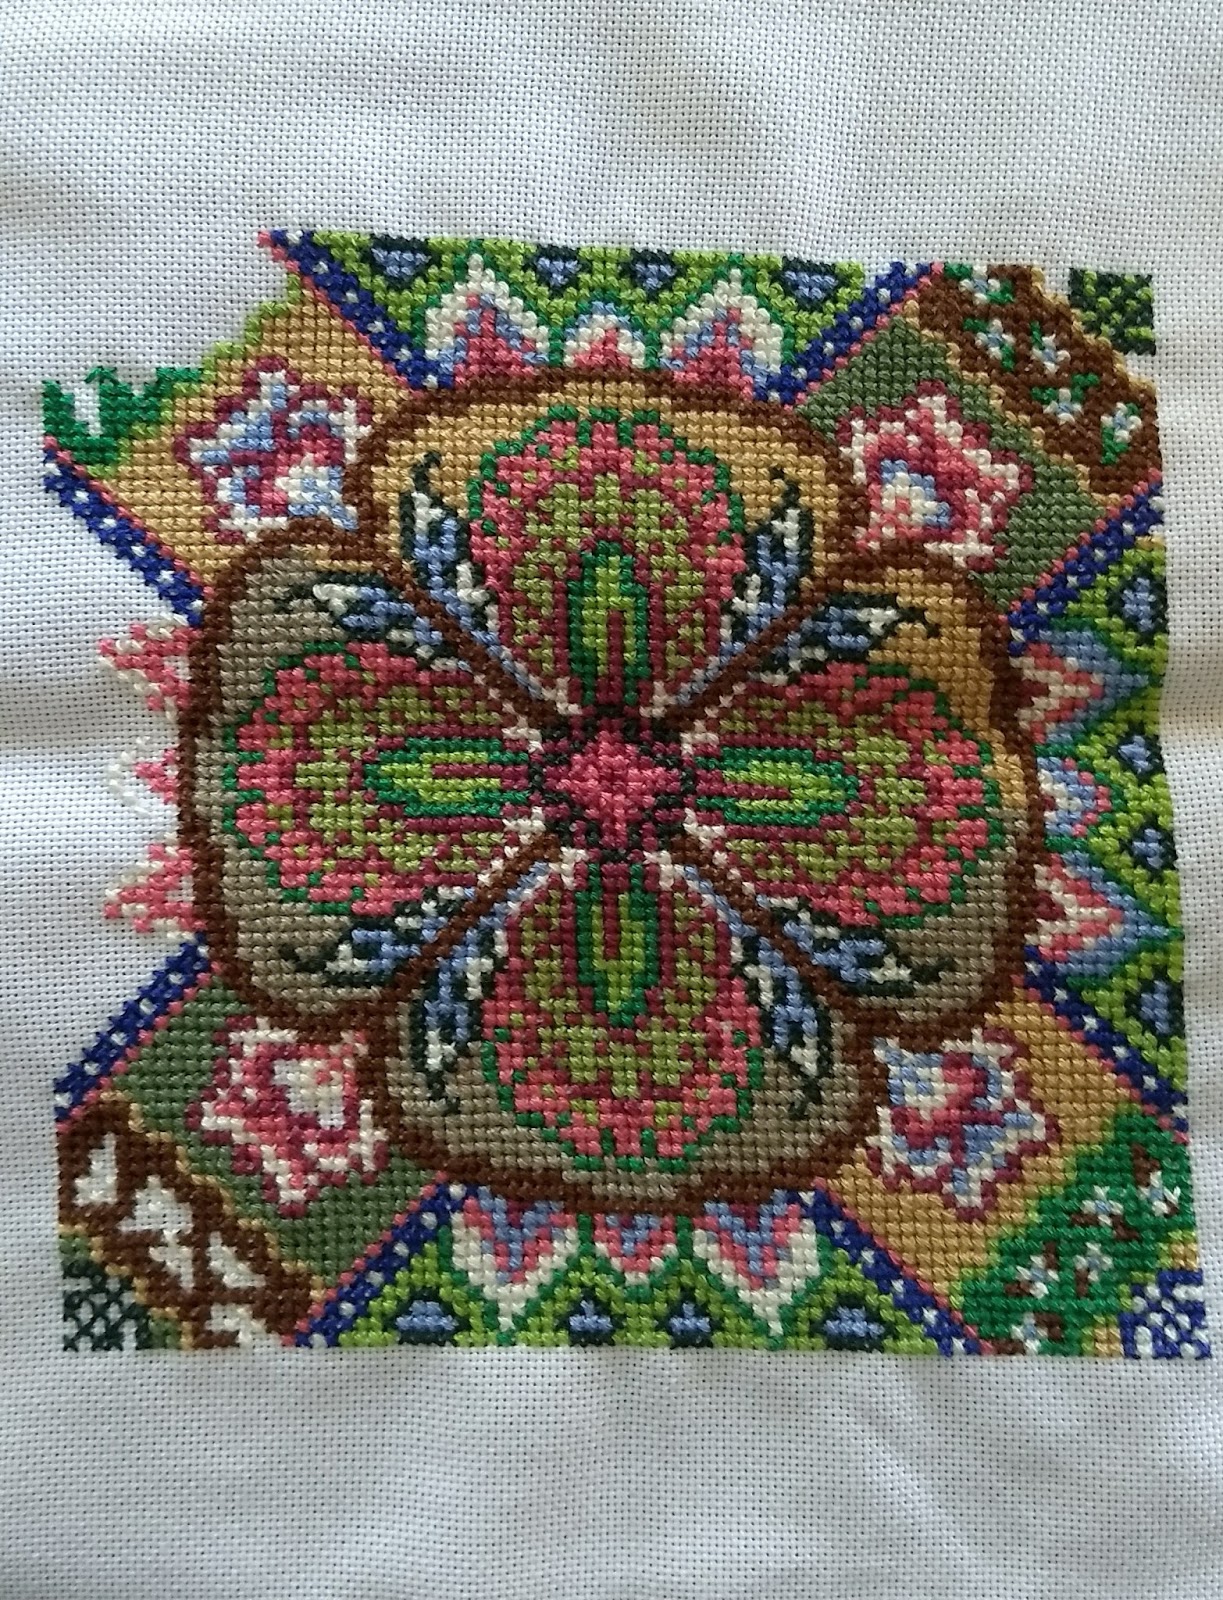
As far as stitching goes, I haven't done much in the past week for a couple of reasons. I've had some good books to read, and I've also been out of town visiting our son and daughter in law. It was a whirlwind trip, so no time for stitching. But I did get a little more done on Kaleidoscope before I left.
My goal is to complete this one soon. It's been in the rotation for a long time, so it's about time to get it done! I'll be making it a priority.
That's about it for now. I will be continuing my blog, even though I have discovered the world of Flosstube. I like the process of writing and posting photos. So keep coming back for visits. I also plan to get back into my Pinterest attempts at some point. See you soon!