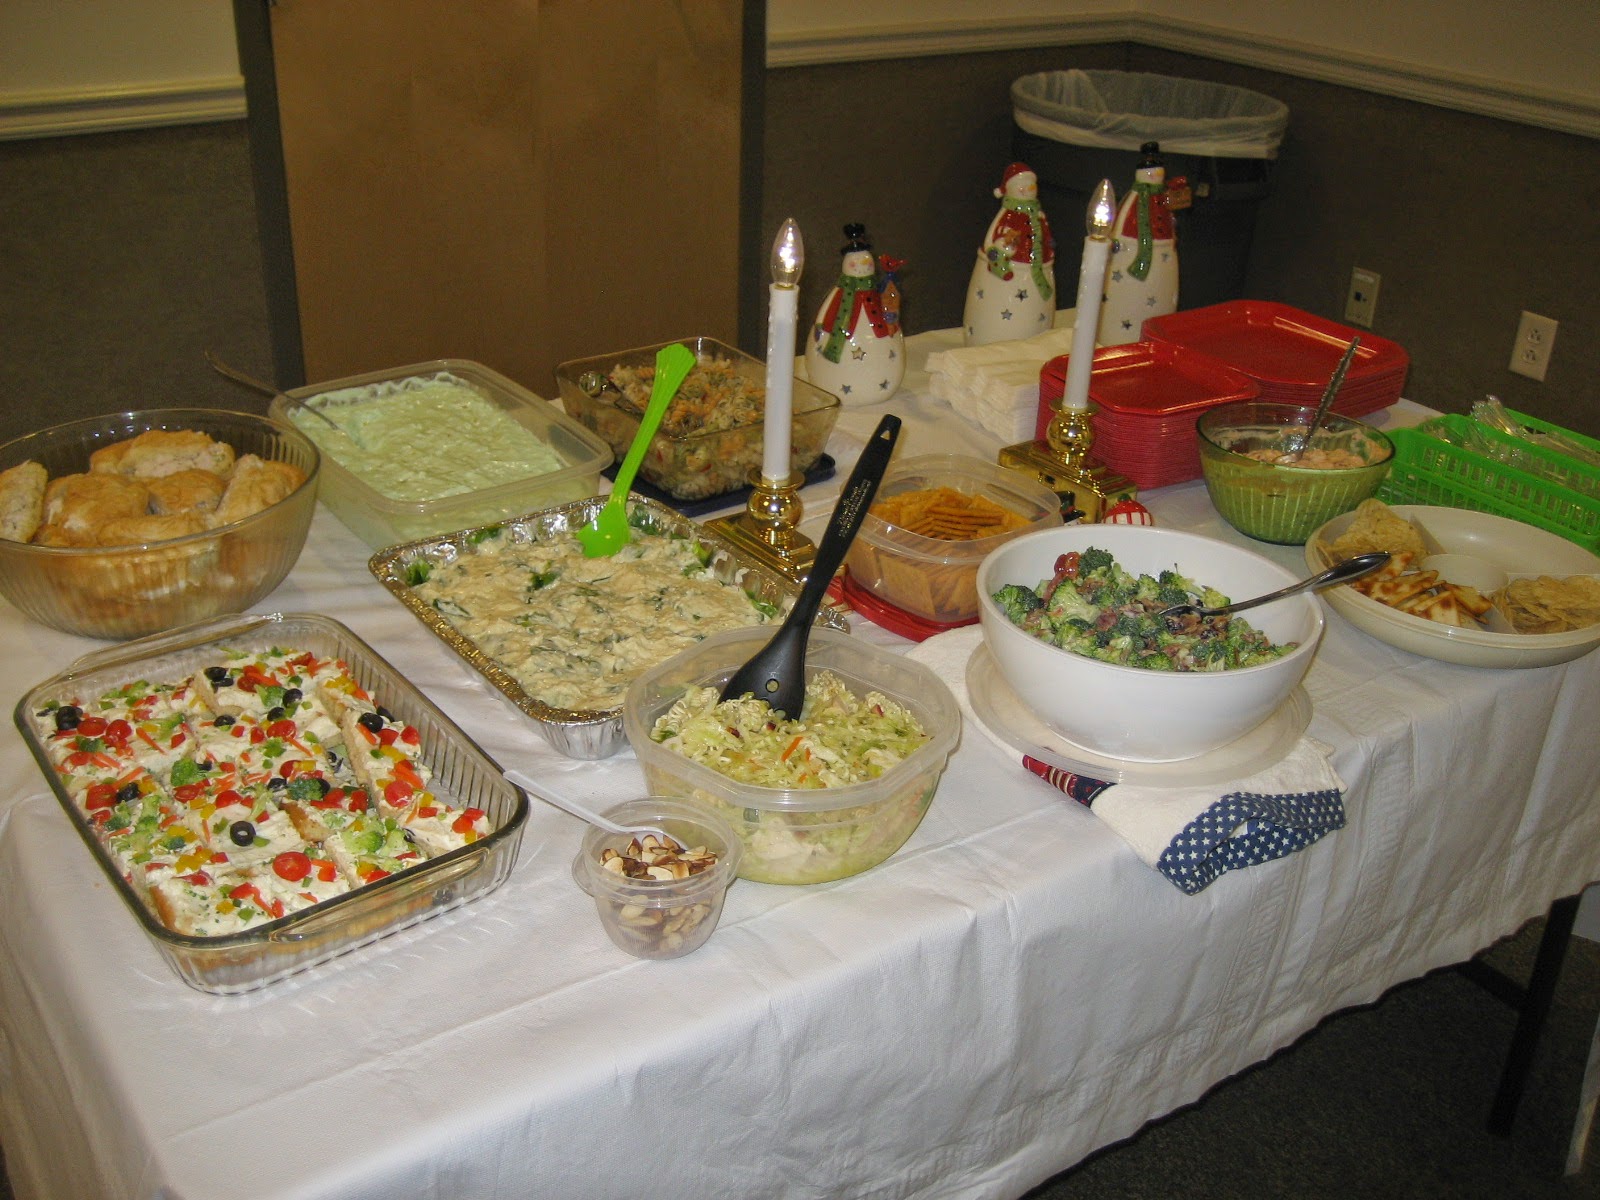
My stitch group, the Sisters In Stitches, needed a little pick-me-up, and so it was decided last month that our July stitching meet-up would be Christmas In July themed. Never mind the 90 degree day, we were determined to be festive!
We exchange a gift at each stitch day, and this was no exception. Everyone broke out the Christmas wrapping for the occasion.
Peggy, who always takes good care of us by making delicious desserts, went above and beyond by bringing all of the decorations. And did I mention desserts? That was the most delicious red velvet cake I've ever tasted!
We each brought a dish to share. Oh my, our lunch was wonderful. You see, usually we bring our own sack lunches to stitch days. Just one more way to make this a special day.
And we did stitch. I will post photos of our stitching, but I don't have the names of any of the charts being stitched. That was a lapse on my part. Maybe from too much "holiday" excitement? I don't know.
It's interesting to see what we're all stitching each month. And it's always so good to see my fellow stitchers. Most of us started out as strangers with a common thread (oh, sorry about that pun) - cross stitch. That was only a few years ago, and now look at us. I would say that now we're good friends. Isn't it great when cross stitch brings people together?
I had such a good time participating in the "Where Bloggers Create" party. Visiting other bloggers' creative spaces is so much fun! If you'd like to take a peek at the artsy and crafty rooms of bloggers, you can find them here. All you have to do is go to the collection of thumbnails at the end of Karen's post and click away.
The big news this week is that I have reached the 200 follower mark!! I want to thank each and every one of you! I will be announcing my giveaway very soon, so please stop by and visit often.
Wednesday, July 16, 2014
Friday, July 11, 2014
Where Bloggers Create Party!
As part of the Where Bloggers Create event hosted by Karen at My Desert Cottage, I'd like to welcome you to my craft room. When I saw this event taking place last year, I knew that I wanted to participate in the next one!
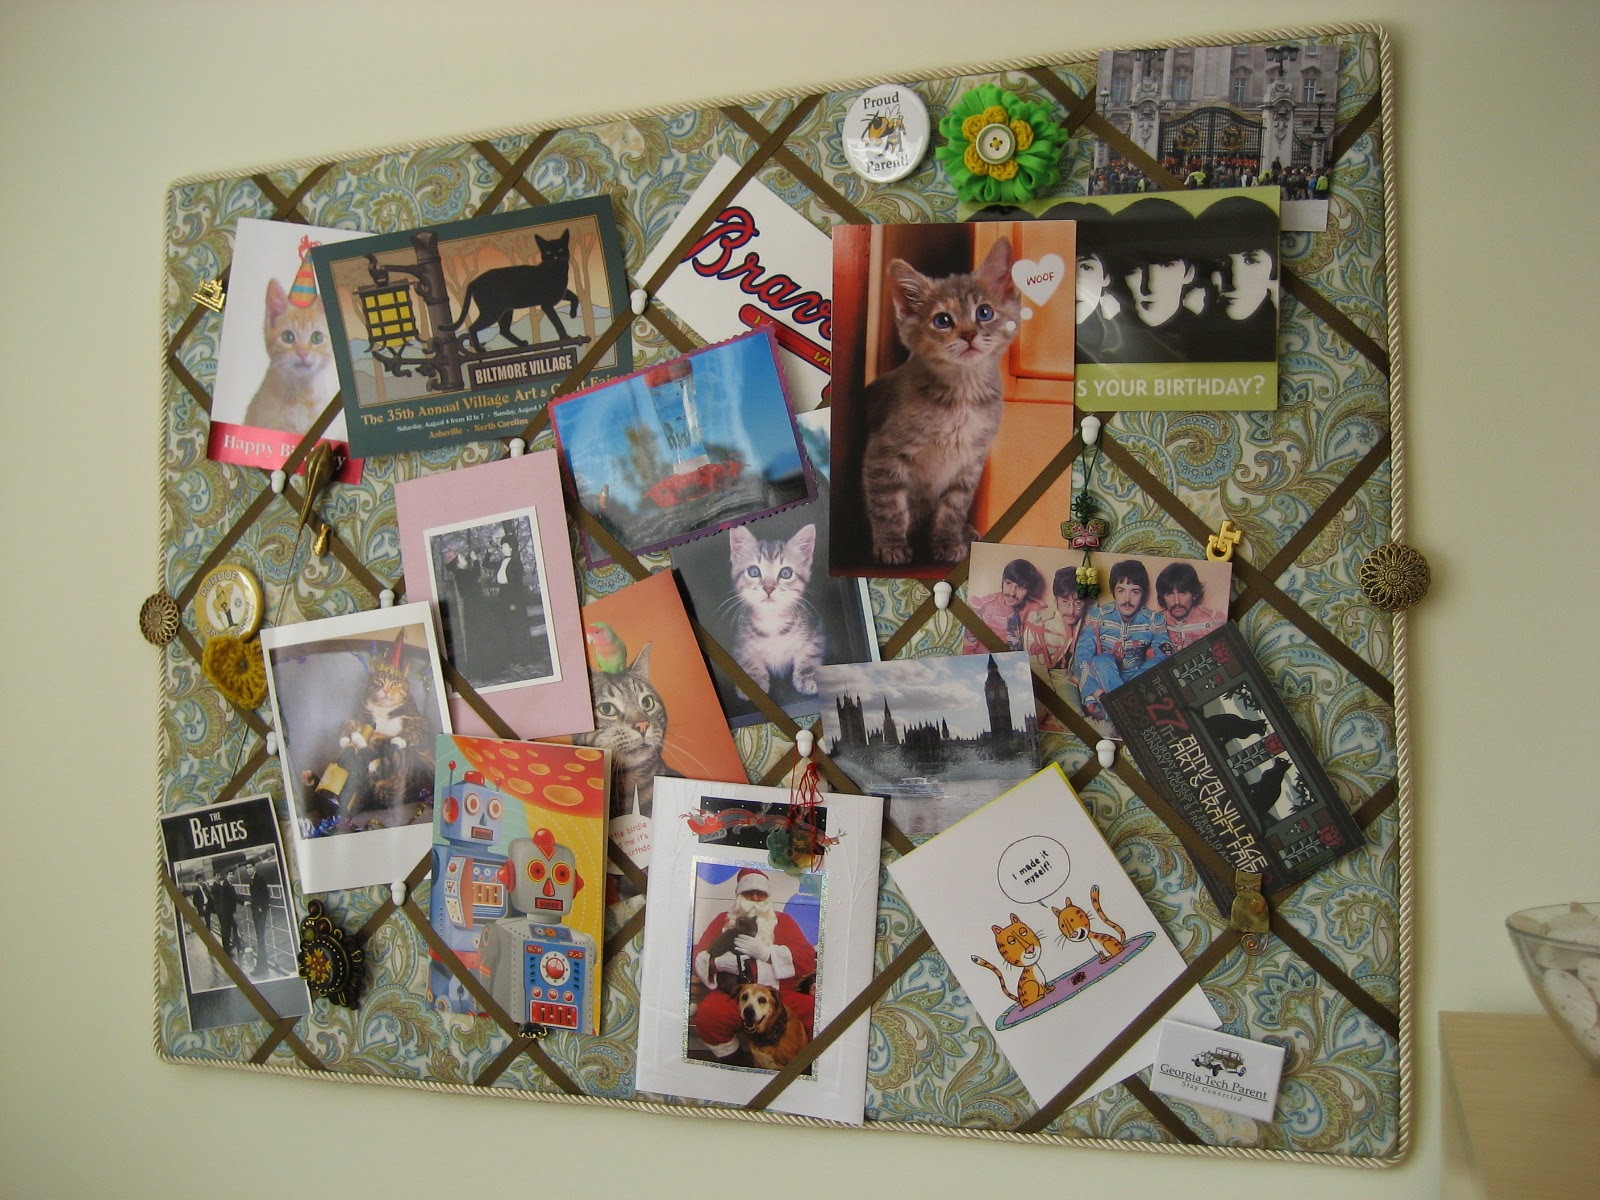
My craft room isn't the biggest or fanciest place, but it makes me immensely happy. It gets bright morning sun, which lights up the creamy white walls (which I painted all by myself!).
Most of the furniture in my craft room is second-hand. From the pine bookcase from my son's childhood room, to the armoire I found at a great price at a local used furniture store, they're all used to the fullest.
Cross stitch, sewing and beading keep me busy, and all three of these require good organization or I'd never know where anything is. You think I'm kidding. I also like to do some miscellaneous crafts like cardmaking, jewelry making, and dimensional jewelry pieces (Ice Resin type).
My favorite piece of furniture in my craft room is the craft table which was built by a local furniture maker. I asked for a tabletop that was not perfect so that I wouldn't feel bad about scratches, etc. Because scratches and gouges WOULD eventually happen! So he made it with a rustic, "used-look" top. He also added two large, but shallow drawers.
Mark made the closet a lot more functional by installing shelves straight across. Works perfectly for me and provides tons of storage for all of my "necessities".
Of course, aside from all of the practical issues of organization, I believe that we crafters need to be surrounded by things that we think are pretty, things that just make us happy, and our collections.
How fun is it to go around to various crafters' blogs and see what their craft rooms look like! I've gotten some great ideas for decorating and organization of materials. Just seeing what is on the walls and on the shelves of these spaces can be enough to inspire you to create! Thank you for visiting my blog and craft room. Please consider becoming a follower of my blog. As soon as I reach 200 followers, I will be having a little drawing to celebrate!
My craft room isn't the biggest or fanciest place, but it makes me immensely happy. It gets bright morning sun, which lights up the creamy white walls (which I painted all by myself!).
Most of the furniture in my craft room is second-hand. From the pine bookcase from my son's childhood room, to the armoire I found at a great price at a local used furniture store, they're all used to the fullest.
| Wonderful storage piece! |
| My husband Mark added an extra shelf and a back. |
| Cross stitch charts and magazines are stored in magazine holders. |
| A peek inside a drawer. A few bathroom organizers from Bed Bath & Beyond keep everything handy. |
| The closet in a relatively neat state. |
| More storage. |
| Comfy sitting area. The storage unit on the left holds beads and supplies. |
How fun is it to go around to various crafters' blogs and see what their craft rooms look like! I've gotten some great ideas for decorating and organization of materials. Just seeing what is on the walls and on the shelves of these spaces can be enough to inspire you to create! Thank you for visiting my blog and craft room. Please consider becoming a follower of my blog. As soon as I reach 200 followers, I will be having a little drawing to celebrate!
Thursday, July 10, 2014
Reminder: Where Bloggers Create - This Saturday
Last year I ran across a blogging event, Where Bloggers Create, as it
was going on. I thoroughly enjoyed visiting the participating blogs
and taking mini tours of their creative spaces. Right then I decided
that I wanted to take part in this event the next time it came around.
Where Bloggers Create is organized by Karen at My Desert Cottage, a lovely blog in itself.
So if you're interested in participating, just click here for all of the instructions. You don't have to have a big or fancy crafting space. The purpose of this event is to see where other people create and to get helpful ideas for your own room of creativity. Even if you don't want to take part, I encourage you to pay a visit to some of these blogs. It is so interesting to see what inspires others!
Sunday, July 6, 2014
Cross Stitch Questions Answered
I have quite a list of blogs that read regularly. Not all of them involve cross stitch, but many of them are and most of the rest are craft-oriented. One that I like is Rachel's blog,What Looks Like Crazy On An Ordinary Day. Recently, she offered a list of questions specifically for the cross stitcher. I had written a blog post similar to this during the past year and it was fun. I like the fact that this set of questions is different, and so I will answer them because I know that you want to know.
Question 1: How did you start? Who introduced you to cross stitching? I would have to say that my mom was an early influence. She taught me how to embroider and do stamped cross stitch at a very early age and let me embellish pillowcases with rather vivid color combinations.
Question 2: Favorite theme or designer? I like a lot of different designers -- Little House Needleworks, Blue Ribbon Designs, Blackbird Designs, Allessandra Adelaide, Ink Circles only name a few. Just judging from my collection of charts, too many.
Question 3: What brand of floss do you use? DMC and overdyed floss of all kinds.
Question 4: What is your fabric of choice? 28-count Lugana or Jobelan tops the list. I like linen for smaller projects and the max I'll stitch on any fabric is 32-count. My current, most active, project is being stitched over one on 18 count linen.
Question 5: Do you use a needle threader or are you a floss licker? Once a floss licker, always a floss licker. Nothing wrong with that if you're the only one using that particular piece of floss.
Question 6: What brand of stitching frame (or hoop or otherwise holder) do you use? Hoops for me. In hand for small projects. I tried the q-snaps, but they were too heavy for my delicate wrists. You didn't know that I'm a delicate flower? So I traded my little collection of q-snaps with my friend Trish for her little collection of hoops.
Question 7: How many projects have you finished? I don't know the answer to that. I've been stitching for a long time and haven't been organized enough to keep track. Wouldn't it be nice to have a little photo album of all of the projects you've stitched? Yeah. I've given a lot of stitched pieces away, so I honestly have no idea.
Question 8: How many completed works are hanging in your house? Easier question. Nineteen.
Question 9: Do you stitch for gifts or keep for yourself? Both. It's probably about half and half.
Question 10: Favorite finished stitched piece? An All-American Santa that I stitched for my sister, "Peppermint Twist" by Blue Ribbon Designs, and my Pledge of Allegiance Flag (sorry, I can't remember the designer at the moment).
Question 11: Worst experience while stitching? When my husband and I were first married, I was stitching a gift for my mom, a sampler that I designed myself. Mark accidentally spilled tea on it when I was about halfway through stitching. Luckily the dry cleaner got the stain out, but didn't know what to write on the ticket describing the item, so he wrote "flag". I also stitched a piece with floss that I hated and came to dislike the piece. It's folded up and stuck in a box somewhere.
Question 12: What do you love and hate about cross stitch? Cross stitch is relaxing; I love seeing the design developing right before my eyes; I like the varied colors of floss and seeing how they go together; What a great feeling it is to complete a project! I can't really say that I hate anything about cross stitch, but I am a very slow stitcher and it takes me a while to finish projects.
Question 13: Have you introduced anyone else to cross stitch My mom! Yes, she WAS the one who introduced me to needlework, but I showed her how to do counted cross stitch on Aida. She became an avid stitcher!
Question 14: The first project, did you finish it? Probably. I don't remember even what it was.
Question 15: How do you store your floss? DMC in bobbins in those little boxes and overdyed floss in Floss Away bags on rings. OK, and some of it is stuffed in a box.
And there you have it. Everything you wanted to know. Ha ha. If you're a stitcher, maybe you'd like to answer these questions too. Go right ahead! I may have done it in a lighthearted way, but it does make me remember quite a few stitching memories. No photos today. It seems that transferring old photos to a new computer can be a process filled with glitches. Not to worry. I'll have them up and running soon!
Question 1: How did you start? Who introduced you to cross stitching? I would have to say that my mom was an early influence. She taught me how to embroider and do stamped cross stitch at a very early age and let me embellish pillowcases with rather vivid color combinations.
Question 2: Favorite theme or designer? I like a lot of different designers -- Little House Needleworks, Blue Ribbon Designs, Blackbird Designs, Allessandra Adelaide, Ink Circles only name a few. Just judging from my collection of charts, too many.
Question 3: What brand of floss do you use? DMC and overdyed floss of all kinds.
Question 4: What is your fabric of choice? 28-count Lugana or Jobelan tops the list. I like linen for smaller projects and the max I'll stitch on any fabric is 32-count. My current, most active, project is being stitched over one on 18 count linen.
Question 5: Do you use a needle threader or are you a floss licker? Once a floss licker, always a floss licker. Nothing wrong with that if you're the only one using that particular piece of floss.
Question 6: What brand of stitching frame (or hoop or otherwise holder) do you use? Hoops for me. In hand for small projects. I tried the q-snaps, but they were too heavy for my delicate wrists. You didn't know that I'm a delicate flower? So I traded my little collection of q-snaps with my friend Trish for her little collection of hoops.
Question 7: How many projects have you finished? I don't know the answer to that. I've been stitching for a long time and haven't been organized enough to keep track. Wouldn't it be nice to have a little photo album of all of the projects you've stitched? Yeah. I've given a lot of stitched pieces away, so I honestly have no idea.
Question 8: How many completed works are hanging in your house? Easier question. Nineteen.
Question 9: Do you stitch for gifts or keep for yourself? Both. It's probably about half and half.
Question 10: Favorite finished stitched piece? An All-American Santa that I stitched for my sister, "Peppermint Twist" by Blue Ribbon Designs, and my Pledge of Allegiance Flag (sorry, I can't remember the designer at the moment).
Question 11: Worst experience while stitching? When my husband and I were first married, I was stitching a gift for my mom, a sampler that I designed myself. Mark accidentally spilled tea on it when I was about halfway through stitching. Luckily the dry cleaner got the stain out, but didn't know what to write on the ticket describing the item, so he wrote "flag". I also stitched a piece with floss that I hated and came to dislike the piece. It's folded up and stuck in a box somewhere.
Question 12: What do you love and hate about cross stitch? Cross stitch is relaxing; I love seeing the design developing right before my eyes; I like the varied colors of floss and seeing how they go together; What a great feeling it is to complete a project! I can't really say that I hate anything about cross stitch, but I am a very slow stitcher and it takes me a while to finish projects.
Question 13: Have you introduced anyone else to cross stitch My mom! Yes, she WAS the one who introduced me to needlework, but I showed her how to do counted cross stitch on Aida. She became an avid stitcher!
Question 14: The first project, did you finish it? Probably. I don't remember even what it was.
Question 15: How do you store your floss? DMC in bobbins in those little boxes and overdyed floss in Floss Away bags on rings. OK, and some of it is stuffed in a box.
And there you have it. Everything you wanted to know. Ha ha. If you're a stitcher, maybe you'd like to answer these questions too. Go right ahead! I may have done it in a lighthearted way, but it does make me remember quite a few stitching memories. No photos today. It seems that transferring old photos to a new computer can be a process filled with glitches. Not to worry. I'll have them up and running soon!
Sunday, June 29, 2014
Some Beadwork For A Change Of Pace
A new bead project kept me happily busy this week. I recently was introduced to the Auntie's Beads website, and it turned out to be a great source for beads and related supplies. My first order arrived in my mailbox very quickly. I placed the order on a Saturday, received notice that it was shipped on Sunday, and when I got back from a mini vacation, there it was.
It's always an adventure to try out something new in the craft world, so my order consisted of everything I needed to make this bracelet. OK, so I ordered the wrong Fireline thread, but another quick visit to Auntie's Beads and I had the correct color and weight of Fire Line in a few days.
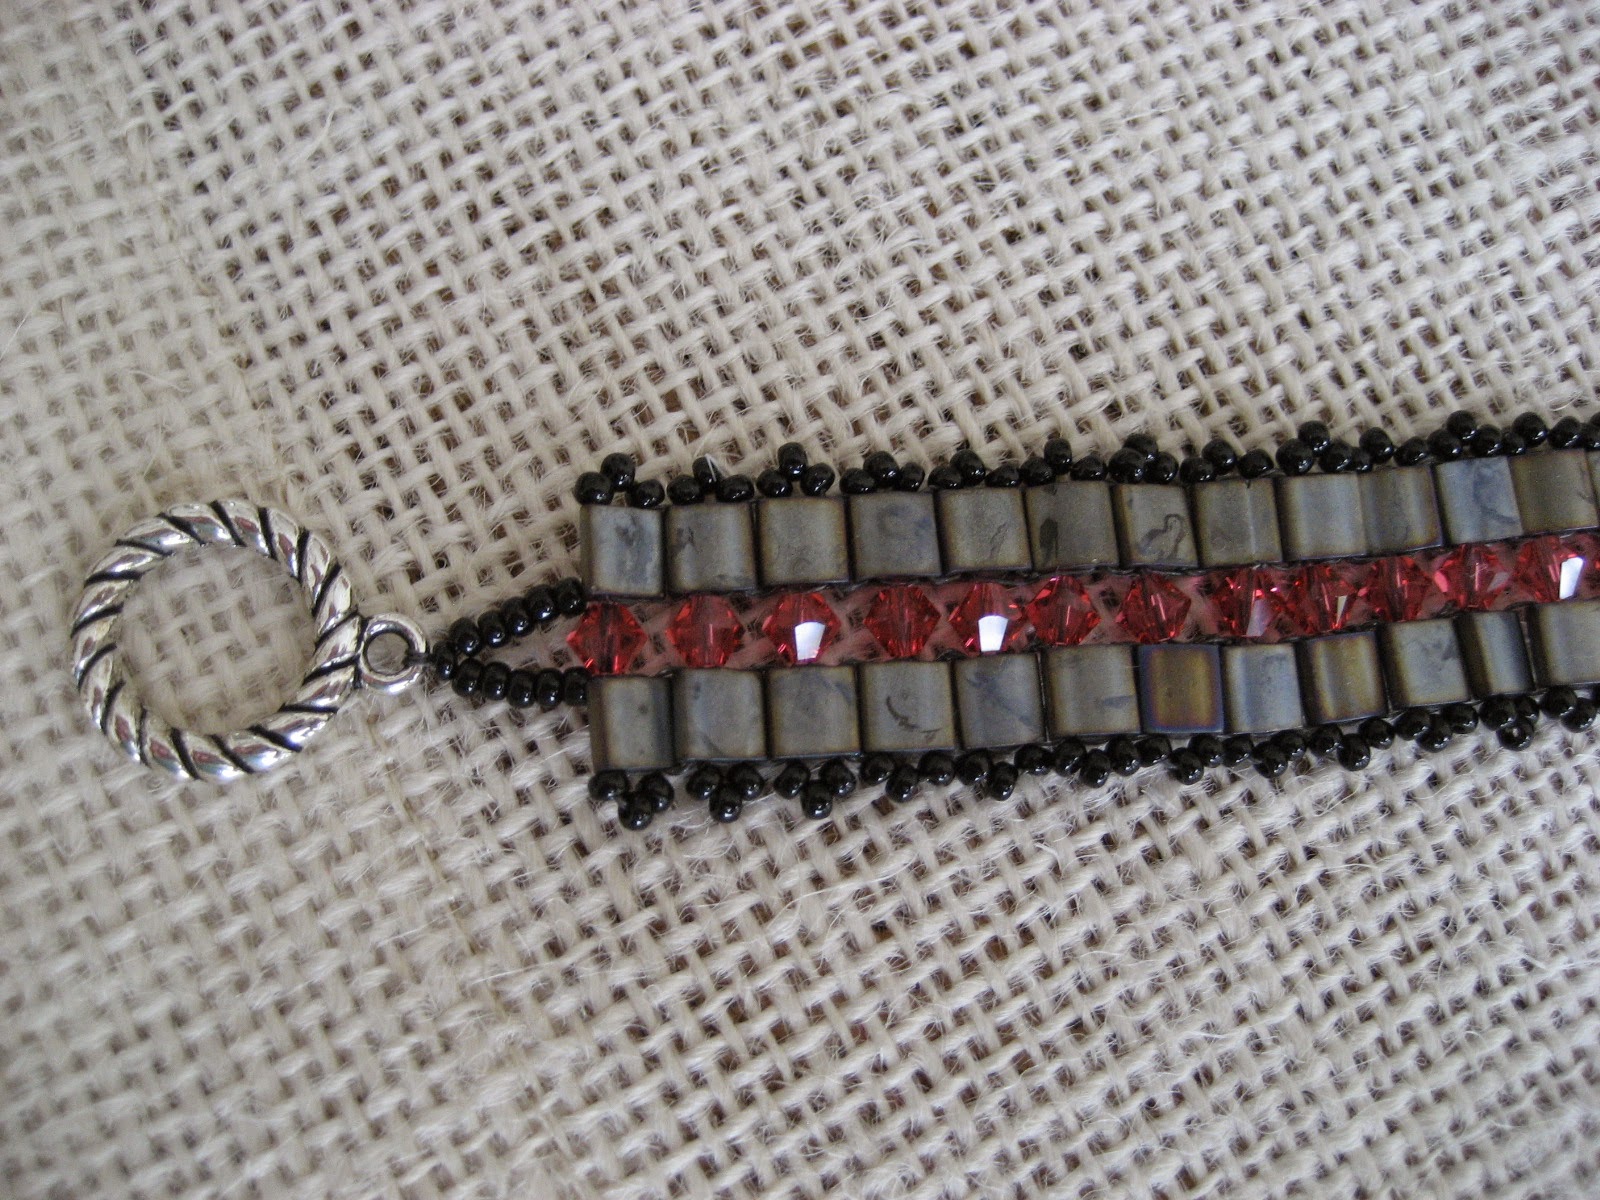
The new beads I used (well, new to me) are Miyuki Tila beads, little flat squares with two holes going through them. I made my own color combination using the Tila beads in metallic silver gray, black seed beads, and 4mm Swarovski bicones in Indian Pink. The directions for this bracelet are right there on the same link -- a complete video showing how to craft this bracelet from start to finish. And the result? See for yourself:
If any of you have used Fireline thread before, you know that it's a good strong thread that's perfect for most bead weaving or stringing projects. I usually use Nymo thread for weaving projects, but am glad that I got to try out this product. One unusual thing I noticed first off: I had a lot of trouble cutting the Fireline! I tried scissors, wire cutters, and clippers and nothing I had on hand would cleanly cut this thread. Weird. So I went online and found out that I was not the only one. A few fellow crafters on a forum suggested plain old kids' Fiskers scissors. Well, I was going to Wal-Mart anyway, so I picked up a pair for the grand total of $1.47. And yes, they worked amazingly well, giving the thread a clean cut. What?! These little scissors did what several other implements could not. So now these are my designated Fireline scissors.
I will say that I would consider this to be an intermediate project, not super-easy or beginner, but also not difficult enough to be labeled "advanced". This is one bracelet project that I would make again, using different color combinations. I love beading projects like this and don't seem to do them often enough. But I do look forward to visiting the Auntie's Beads website again to see what else I can create!
It's always an adventure to try out something new in the craft world, so my order consisted of everything I needed to make this bracelet. OK, so I ordered the wrong Fireline thread, but another quick visit to Auntie's Beads and I had the correct color and weight of Fire Line in a few days.
The new beads I used (well, new to me) are Miyuki Tila beads, little flat squares with two holes going through them. I made my own color combination using the Tila beads in metallic silver gray, black seed beads, and 4mm Swarovski bicones in Indian Pink. The directions for this bracelet are right there on the same link -- a complete video showing how to craft this bracelet from start to finish. And the result? See for yourself:
| The completed bracelet. |
| Close-up showing the clasp. |
| Super close-up showing the detail. |
I will say that I would consider this to be an intermediate project, not super-easy or beginner, but also not difficult enough to be labeled "advanced". This is one bracelet project that I would make again, using different color combinations. I love beading projects like this and don't seem to do them often enough. But I do look forward to visiting the Auntie's Beads website again to see what else I can create!
Sunday, June 22, 2014
A Summery Start
There's nothing like getting back to stitching after a stitching dry spell. I hadn't worked on any of my cross stitch projects in a long time, so was happy to go to a stitch day with my fellow needleworkers.
For my birthday, Sheila gave me the chart "Tulip's Praise" by Gracewood Stitches. You can see the chart here. When I gathered the DMC colors for the chart, I was instantly happy. I decided to stitch it on 18 count evenweave over one, in a not-quite-white color. I did make a little progress at stitch day. Yes, just a little, owing to the fact that I am not the speediest stitcher on the planet, and hey, we had to eat the yummy dessert that Peggy brought and do our traditional gift exchange.
Just look at those colors -- all of the pinks, greens and turquoises -- just lovely. Continuing this project will be a pleasure. It's so summery. Or it could be springy. No matter what, like my other stitching projects it will take a while for me to do, and I'll be stitching it when the leaves and snow are falling. No matter. It's what we stitchers do.
I also am continuing on my little Just Nan project, "Jasmine Mix". Lots of color changes, but when it starts coming together, it's an amazing result.
I want to thank everyone who made such kind comments on my post about our trip to California for my son's graduation. And thank you to all of my followers. When my follower count gets to 200, I will have a drawing for a giveaway. So keep watching.
I will also be participating in the "Where Bloggers Create" blog hop on July 12th, sponsored by My Desert Cottage. You can find out more about this event by clicking on the button in my sidebar. Even if you don't choose to take part in this, you can still visit the many blogs participating and check out their amazing work spaces. You'll find so many ideas for setting up your creative space, organizing, and decorating your crafting area, and also see the the materials that other crafters use. This, to me, is just fascinating. So please take a look to see if you're interested.
For my birthday, Sheila gave me the chart "Tulip's Praise" by Gracewood Stitches. You can see the chart here. When I gathered the DMC colors for the chart, I was instantly happy. I decided to stitch it on 18 count evenweave over one, in a not-quite-white color. I did make a little progress at stitch day. Yes, just a little, owing to the fact that I am not the speediest stitcher on the planet, and hey, we had to eat the yummy dessert that Peggy brought and do our traditional gift exchange.
Just look at those colors -- all of the pinks, greens and turquoises -- just lovely. Continuing this project will be a pleasure. It's so summery. Or it could be springy. No matter what, like my other stitching projects it will take a while for me to do, and I'll be stitching it when the leaves and snow are falling. No matter. It's what we stitchers do.
I also am continuing on my little Just Nan project, "Jasmine Mix". Lots of color changes, but when it starts coming together, it's an amazing result.
I want to thank everyone who made such kind comments on my post about our trip to California for my son's graduation. And thank you to all of my followers. When my follower count gets to 200, I will have a drawing for a giveaway. So keep watching.
I will also be participating in the "Where Bloggers Create" blog hop on July 12th, sponsored by My Desert Cottage. You can find out more about this event by clicking on the button in my sidebar. Even if you don't choose to take part in this, you can still visit the many blogs participating and check out their amazing work spaces. You'll find so many ideas for setting up your creative space, organizing, and decorating your crafting area, and also see the the materials that other crafters use. This, to me, is just fascinating. So please take a look to see if you're interested.
Friday, June 6, 2014
There Is A Point To This Post
Have you, as a stitcher, ever wanted to do "frame it yourself"? Framing something is the finishing touch to a stitched project, and it allows us to display our work. Professional framers do a wonderful job of fixing up our stitched pieces with coordinating frames and specially cut mats, but we all have to agree that it is expensive. I've taken in my cross stitch to be professionally framed several times -- for gifts, or if the piece was large. Over the past few years, however, I've been doing most of my own framing.
My favorite place to get a custom-cut frame, mat, mounting board, and plexi-glass is American Frame. I've mentioned this company in previous posts and talked about how pleased I am with their selection and service. A box from American Frame contains everything you need, including framing hardware, all well packed. One thing that mystifies me to no end are the spring clips to secure the piece in the frame. I know what you're supposed to do with them, but they need to be screwed into......something. Okay, I just don't like them. So Mark has been helping me with this step by installing those little glazier points into the frame with a screwdriver. This isn't easy, especially with a hardwood frame.
To make this step easier, I'd been researching point drivers and finally purchased one. The model I bought is the Logan Dual Drive Elite Point Driver.
I finally got a chance to try this thing out last weekend when I was framing a non-stitchy piece. Whoever invented this point driver is a genius. First of all, there was only one page of easy-to-follow instructions. One page! Next, loading the points was a breeze. I had expected it to be like my ridiculous big stapler, which has a bizarre, counterintuitive staple loading system. None of that here! I loaded those points, adjusted the screw for a harder wood frame and was ready to go! Then I held my breath as I positioned the point driver and pulled the trigger. It couldn't have been easier. And it works!!
The best part is being able to do this step myself. And you don't have to have the strongest hands in the world to operate it.
It sure doesn't take much to delight me, does it? I purchased mine at Hobby Lobby, and I've seen them all over the internet, at places like Amazon, Wal-Mart, and art supply stores. The price on this point driver was $62.99, but we all know about the Hobby Lobby 40% off coupon, don't we? So this can be had for around $40.00.
So there is my rave review of the Logan Dual Drive Elite Point Driver. All in all, it's inexpensive, easy to use, and makes me feel like a pretty good (if amateur) framer.
My favorite place to get a custom-cut frame, mat, mounting board, and plexi-glass is American Frame. I've mentioned this company in previous posts and talked about how pleased I am with their selection and service. A box from American Frame contains everything you need, including framing hardware, all well packed. One thing that mystifies me to no end are the spring clips to secure the piece in the frame. I know what you're supposed to do with them, but they need to be screwed into......something. Okay, I just don't like them. So Mark has been helping me with this step by installing those little glazier points into the frame with a screwdriver. This isn't easy, especially with a hardwood frame.
To make this step easier, I'd been researching point drivers and finally purchased one. The model I bought is the Logan Dual Drive Elite Point Driver.
I finally got a chance to try this thing out last weekend when I was framing a non-stitchy piece. Whoever invented this point driver is a genius. First of all, there was only one page of easy-to-follow instructions. One page! Next, loading the points was a breeze. I had expected it to be like my ridiculous big stapler, which has a bizarre, counterintuitive staple loading system. None of that here! I loaded those points, adjusted the screw for a harder wood frame and was ready to go! Then I held my breath as I positioned the point driver and pulled the trigger. It couldn't have been easier. And it works!!
The best part is being able to do this step myself. And you don't have to have the strongest hands in the world to operate it.
| Professional quality, no? |
So there is my rave review of the Logan Dual Drive Elite Point Driver. All in all, it's inexpensive, easy to use, and makes me feel like a pretty good (if amateur) framer.
Subscribe to:
Posts (Atom)